")
")
")
")
")


 If you are an enthusiastic miner and have not yet sold your mining rigs on Avito, then you have probably already heard about such a coin as ALEO. At the moment, the 3rd stage of testing the ALEO network is underway, as we have already said in our previous materials previous materials, and you can mine ALEO both solo and using mining pools, for every 5 coins mined in the testnet, miners will be able to receive one Aleo credit coin in the main network, after its launch. However, not everyone wants to participate in such a "lottery", because the future rate of Aleo credit is not yet clear, and besides, you (if you mine a solo coin) or your pool will need to go through the KYC verification procedure, the requirements for which are still have not been made public so far. Therefore, today we will publish a detailed guide on how you can start mining ALEO in rental mode right now on the 1toPool pool with daily rewards in USDT. 1topool pays 0.25$ USDT per day for every 1000 P/s of your hashrate. For example, the top Nvidia Geforce RTX 4090 graphics card will allow you to earn about $3.9 per day, which is many times more profitable than mining other coins. There are already instructions on the Internet for setting up rental mode mining under HiveOs or Linux. We, in this article, will talk about how to run Aleo mining in rental mode under Windows.
Considering that the mining software from the 1toPool pool is designed to work under Linux OS (including HiveOs, RaveOs), in order to start the mining process under Windows, we need to use WSL2, the second version of the Windows subsystem for Linux. Fortunately, this subsystem is part of the Windows 10 operating system (starting with version 22H2) and Windows 11. In addition, in order to run WSL2, your central processing unit (CPU) must support hardware virtualization (Intel VT for Intel processors or AMD-V for AMD ). In addition, this technology must be activated in the BIOS of your motherboard. For Intel processors, this option is usually enabled by default, while for AMD, you will most likely need to enable it manually.
How much can you earn on ALEO mining in rental mode:
According to the developers of the 1toPool pool in their official telegram channel, they participate in the ALEO test rewarded network competition, the essence of which is to mine as many tokens as possible, and if you collect 1 million coins, you can get into the third validator stage. Therefore, a team of 1toPool enthusiasts developed their own mining software and opened a public pool, but they still lack the hashrate to win the competition, for this it was decided to buy a hashrate from users with a favorable payment (up to 5 times more profitable than mining other coins now) . As a result, now you have several ways to participate in the mining of the ALEO test network: Mine SOLO, and after the main network is launched and you pass KYC verification, receive one ALEO coin for every 5 coins mined in the test network; mine on the pool, and after the pool passes KYC verification, receive your share of the mined (provided that the pool can pass KYC, and also does not turn out to be a scam); well, and the way we are talking about here, namely, receiving a daily reward for renting out your hashrate when mining ALEO.
The pool offers very favorable payment terms, namely, you will receive payments in the amount of 0.25$ (USDT) every day for every 1000 P/s (S/s) of your average hashrate during the day. Here is an example of the daily rewards you can expect from various equipment:
- Geforce GTX 1660Super = 0.3$
- Geforce RTX 2060Super = 0.6$
- Geforce RTX 3060 = 0.6$
- Geforce RTX 3060Ti = 0.7$
- Geforce RTX 3070 = 0.8$
- Geforce RTX 3070Ti = 0.8$
- Geforce A5000 = 1.1$
- Geforce RTX 2080Ti = 1.1$
- Geforce RTX 3080 = 1.2$
- Geforce RTX 3080Ti = 1.8$
- Geforce RTX 3090 = 1.8$
- Geforce RTX 4090 = 3.9$
It is worth noting that compared to ALEO solo mining, you do not need a very powerful processor..
Minimum requirements to start mining in rental mode:
- Intel or AMD processor (with hardware virtualization technology support to run WSL2) from Celeron G3900.
- Nvidia graphics card (AMD not yet supported) starting with Geforce GTX 1660 super.
- CUDA 12.
- Windows 10 (starting with version 22H2) or Windows 11 To run the Windows Subsystem for Linux.
Installing WSL2 on Windows 10/11:
- Check that hardware virtualization is enabled in the BIOS of your motherboard, if not, enable it
- If you have Windows 10, upgrade to Windows Version 22H2
- Install the latest CUDA nVidia Drivers on Windows
- Open the Power Shell console (run in administrator mode)
- Type wsl --install
- Please wait while the installation process is in progress
- Restart PC
- Open the Power Shell console (in administrator mode) and type wsl --update
- Enter the command wsl --set-default-version 2
- Enter command wsl --set-version Ubuntu 2
- Restart Power Shell in administrator mode and type wsl.exe
- Think up and enter a username for Linux
- Enter and confirm a password for the Linux user
Installing CUDA on Ubuntu/Linux:
- Open Windows Power Shell (in administrator mode) and type wsl.exe to enter the Linux subsystem.
- Enter the command sudo apt-key del 7fa2af80
- Enter wget command https://developer.download.nvidia.com/compute/cuda/repos/wsl-ubuntu/x86_64/cuda-wsl-ubuntu.pin
- Enter the command sudo mv cuda-wsl-ubuntu.pin /etc/apt/preferences.d/cuda-repository-pin-600
- Enter wget command https://developer.download.nvidia.com/compute/cuda/12.0.0/local_installers/cuda-repo-wsl-ubuntu-12-0-local_12.0.0-1_amd64.deb
- Enter the command sudo dpkg -i cuda-repo-wsl-ubuntu-12-0-local_12.0.0-1_amd64.deb
- Enter the command sudo cp/var/cuda-repo-wsl-ubuntu-12-0-local/cuda-*-keyring.gpg/usr/share/keyrings/
- Enter the command sudo apt-get update
- Enter the command sudo apt-get -y install cuda
- Restart Windows
Running the miner in power lease mode:
- Open Windows Power Shell (in administrator mode) and type wsl.exe to enter the Linux subsystem.
- Create a folder for miners by typing mkdir miners
- Go to the created folder cd miners
- Download the miner 1to-miner to the folder by running wget -O ./1to-miner https://github.com/1to-team/1to-miner/releases/download/v0.3.0/miner-ubuntu-cuda
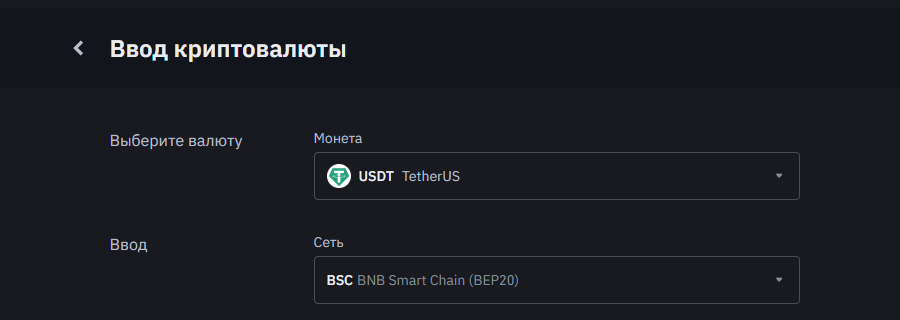
- Run the miner ./1to-miner --address aleo1p6truu9tgf0s8q0ad2fst5xlnj2mhnx6cx0sy0e44jd5uxmrkvqqcrlcj4 --caption YOUR_BSC(BEP-20)_usdt_wallet
- The ALEO address cannot be changed (!) This is a pool wallet, and the payouts will be in USDT to your BSC(BEP-20) wallet address that you specified after --caption.
- You can get a USDT wallet address in the BEP-20 network, for example, on the Binance exchange, or on some other exchanges. Carefully check that the wallet is in the BEP-20 network, the ERC-20 wallet WILL NOT SUIT!!! and you won't get your payouts.
- Payouts will occur every 00:00 UTC0 (1 time per day)
- Pay 0.25 USDT for every 1000 P/s hashrate.
- Telegram Chat rental from 1toPool here https://t.me/aleo1to_rent
- View your USDT payouts: https://rent.aleo1.to/landlord/YOUR_BSC(BEP-20)_usdt_wallet
If for some reason you do not want to receive a reward for mining in USDT every day, then you can set up ALEO mining on the pool on your ALEO wallet.
Setting up ALEO mining on a 1-to pool to your wallet:
- We do everything the same as for the rental mode, but we start the miner without --caption YOUR_BSC(BEP-20)_usdt_wallet. After the word --address, specify your ALEO wallet, instead of the pool wallet.
- Here is an example: ./1to-miner --address YOUR_ALEO_WALLET
- You can see additional parameters of the miner in the official documentation.
Possible problems and methods for their solution:
- If WSL2 does not start, check if your processor supports hardware virtualization and if it is enabled in the BIOS of the motherboard.
- Here you can see how to enable virtualization in BIOS for AMD processors.
- To restart the miner and WSL2, use the wsl --shutdown command
- You can start WSL2 through the wsl.exe command in Windows Power Shell.
- Don't forget to run Power Shell in Administrator mode!