")
")
")
")
")


![]() Since 2014, NiceHash has been offering its services in the mining industry, namely the service of automatically switching your mining rigs to the most profitable algorithm and cryptocurrency, while paying a reward only in Bitcoin, i.e. mined altcoins are also automatically transferred to BTC. Actually, on this functionality, NiceHash gained its popularity among beginner miners and those who do not have time to constantly monitor mining trends. Following the latest trends in the mining industry, the company released its own Linux operating system NiceHashOS in addition to all the well-known Windows applications. If you want to combine the convenience and free Linux operating systems with the convenient NiceHash features, you can easily do this using our NiceHashOS installation and configuration guide.
Since 2014, NiceHash has been offering its services in the mining industry, namely the service of automatically switching your mining rigs to the most profitable algorithm and cryptocurrency, while paying a reward only in Bitcoin, i.e. mined altcoins are also automatically transferred to BTC. Actually, on this functionality, NiceHash gained its popularity among beginner miners and those who do not have time to constantly monitor mining trends. Following the latest trends in the mining industry, the company released its own Linux operating system NiceHashOS in addition to all the well-known Windows applications. If you want to combine the convenience and free Linux operating systems with the convenient NiceHash features, you can easily do this using our NiceHashOS installation and configuration guide.
Register on the NiceHash website
To get started, you need to register on NiceHash.com (the "GET STARTED" button)
The registration form is simple with the mail, password and country.
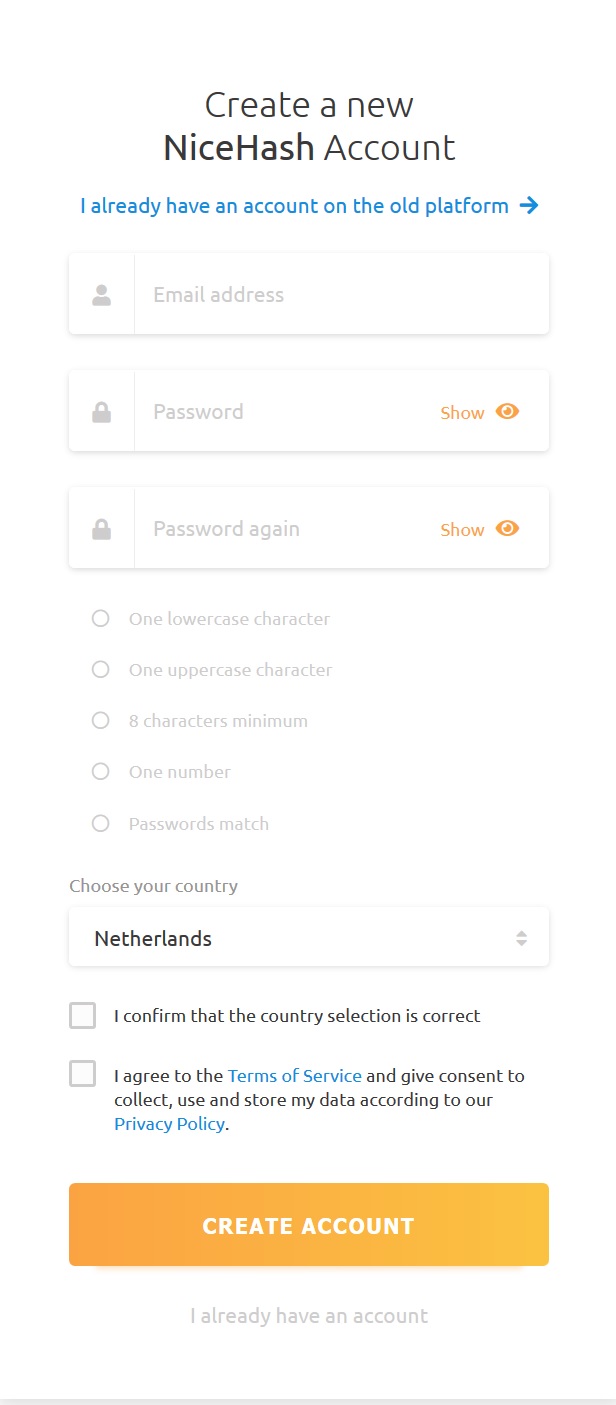
We press the button “CREATE ACCOUNT” button, go to the mail and confirm it by clicking on the link in the response letter from NiceHash.
This completes the registration. Next, go to the installation and configuration of NiceHashOS
Creating a boot disk with NiceHashOS
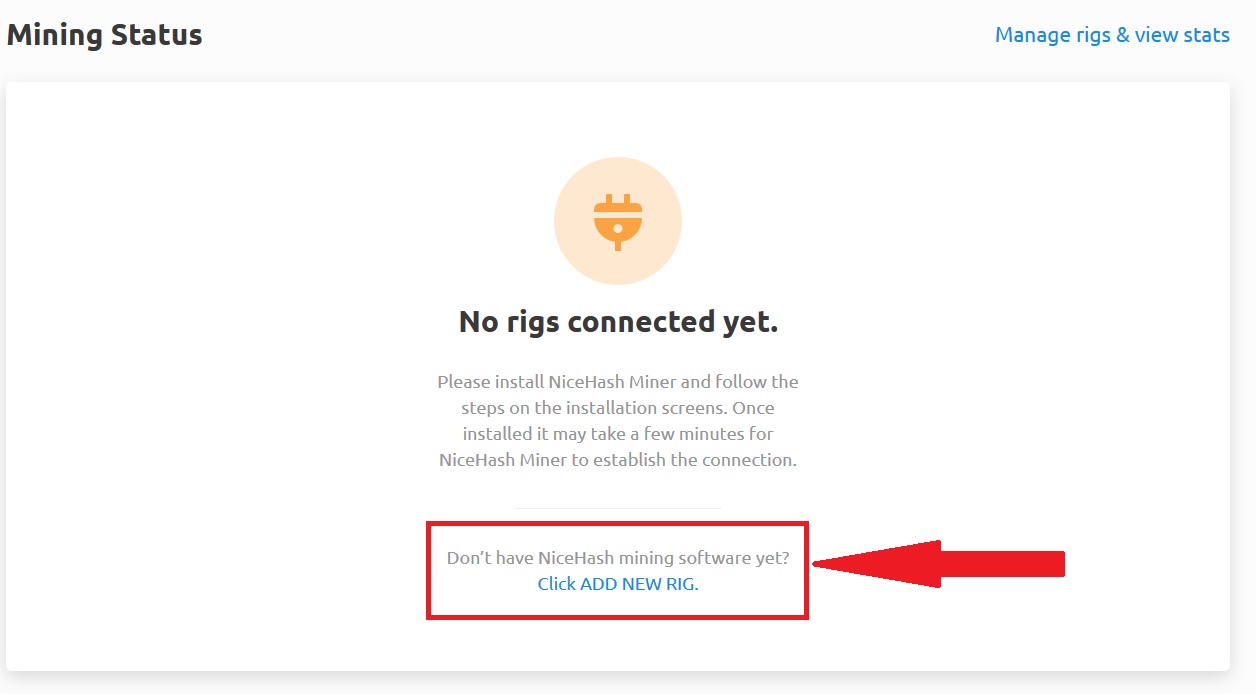
The first thing you will see in your NiceHash dashboard is the proposal to create an “ADD NEW RIG”. Let's do that.
In the next window, we will be offered three options: NiceHash Miner, NiceHash OS and Connect ASIC. Choose NiceHash OS. Because NiceHash miner is a classic Windows application from NiceHash.
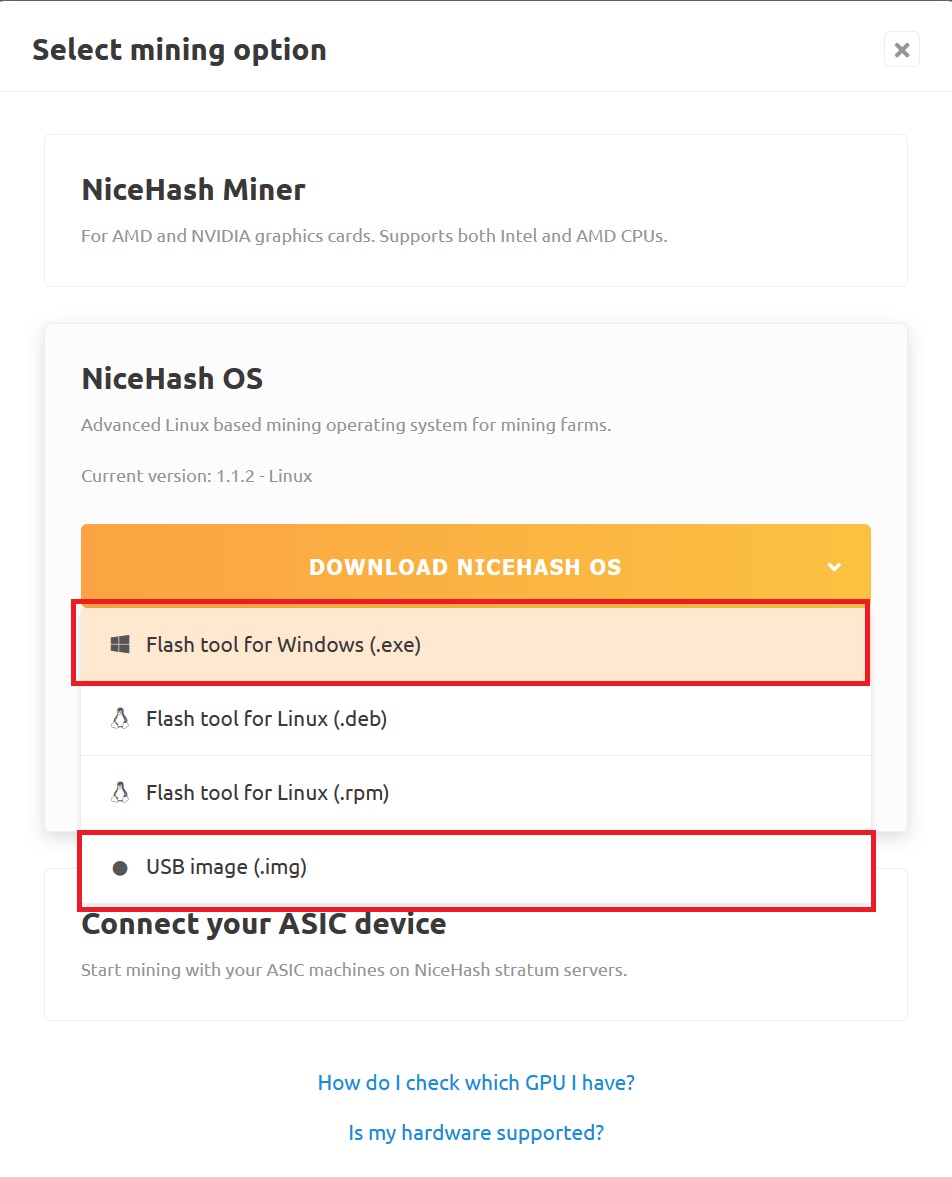
Next, select the Flash Tool for Windows, which already includes a NiceHashOS image and a program for creating a boot disk or flash drive. 4GB is enough to record the NiceHashOS.
You can download a separate image (USB image) if you plan to use a third-party application for recording images. For example, Etcher.
The following is an example of using the Nicehash OS Flash Tool.
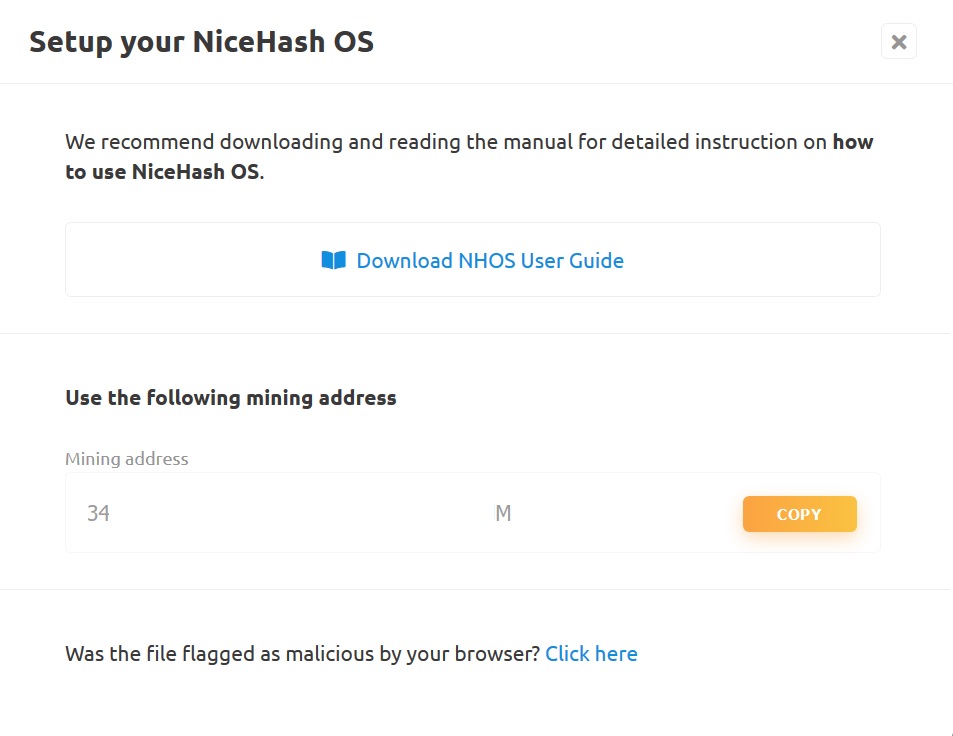
After choosing the download option "Flash tool for Windows" you will see the following notification with the address for mining (Bitcoin):
Run the downloaded NHOS Flash Tool
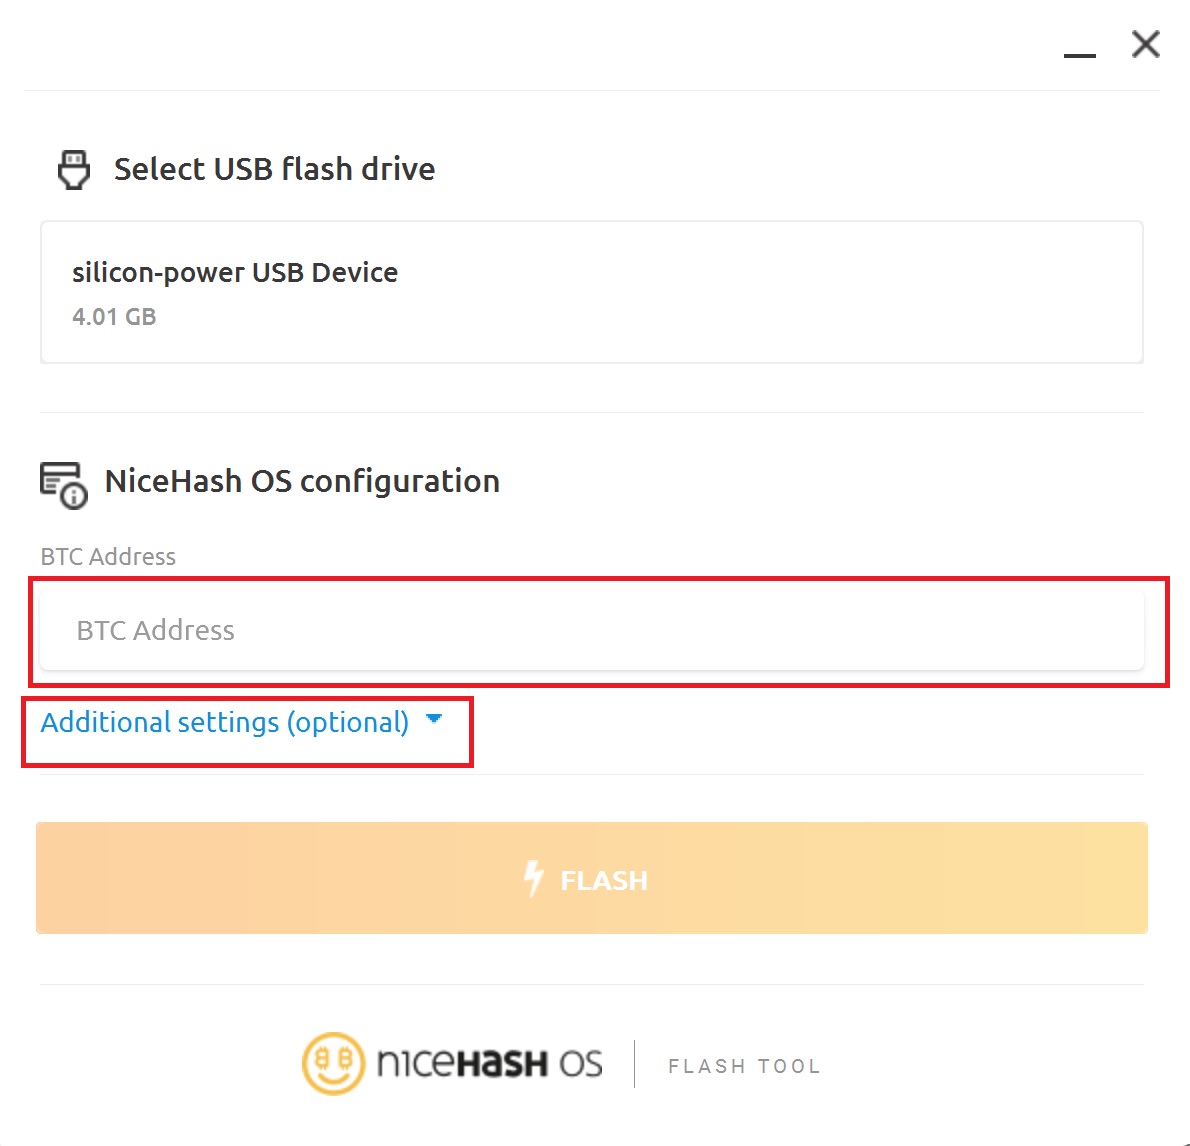
Before you click the Flash button, you need to select a USB drive and specify the BTC Address, which was copied from the previous step.
Additional options are needed to configure Wi-Fi connection. If the mining farm is connected via Ethernet cable, you can skip these settings.
Click on the "FLASH" button, wait for the image to be written to disk. During recording, warnings about the need to format the drive will pop up - you need to ignore them and select cancel.
After creating a bootable USB flash drive with Nicehash using Windows, you can go to a special section called NHOS, where you can find the CONFIGURATION file. In this file you can manually change your BTC address and other settings.
If, when booting from a USB flash drive, you see a GRUB unknown filesystem error, it’s easier not to change the boot sector with special commands, but to overwrite the image in Etcher. Ethcer is a preferable program in this regard, but it will be necessary to edit the CONFIGURATION file on the NHOS flash drive.
Setting up NiceHashOS
We go into the personal account of the NiceHash website and go on to configure mining rig. If you did everything correctly, the status of the rig will display the number of active and inactive rigs.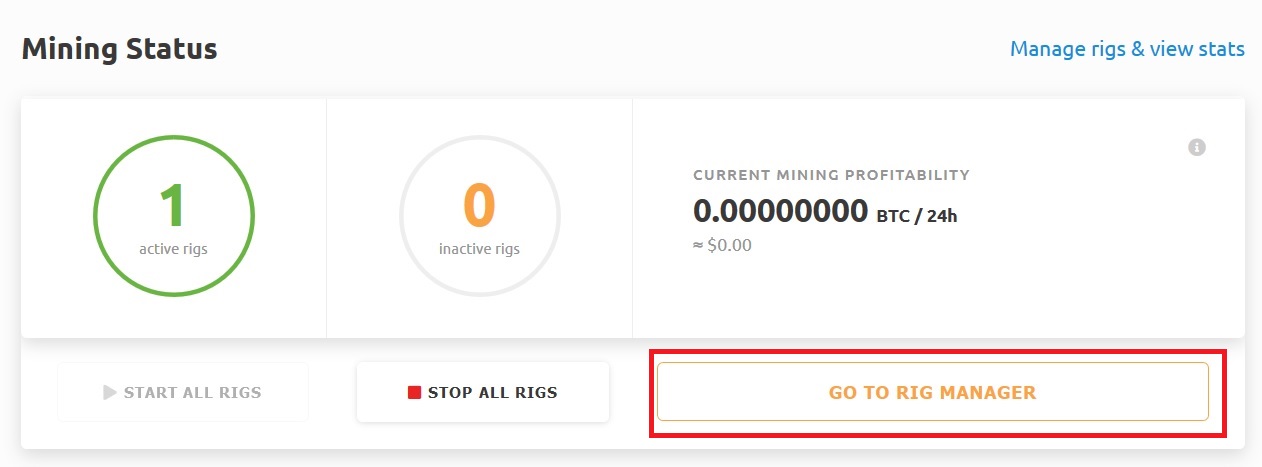
On first launch, the system will test your new connected equipment. You need to wait for this process.
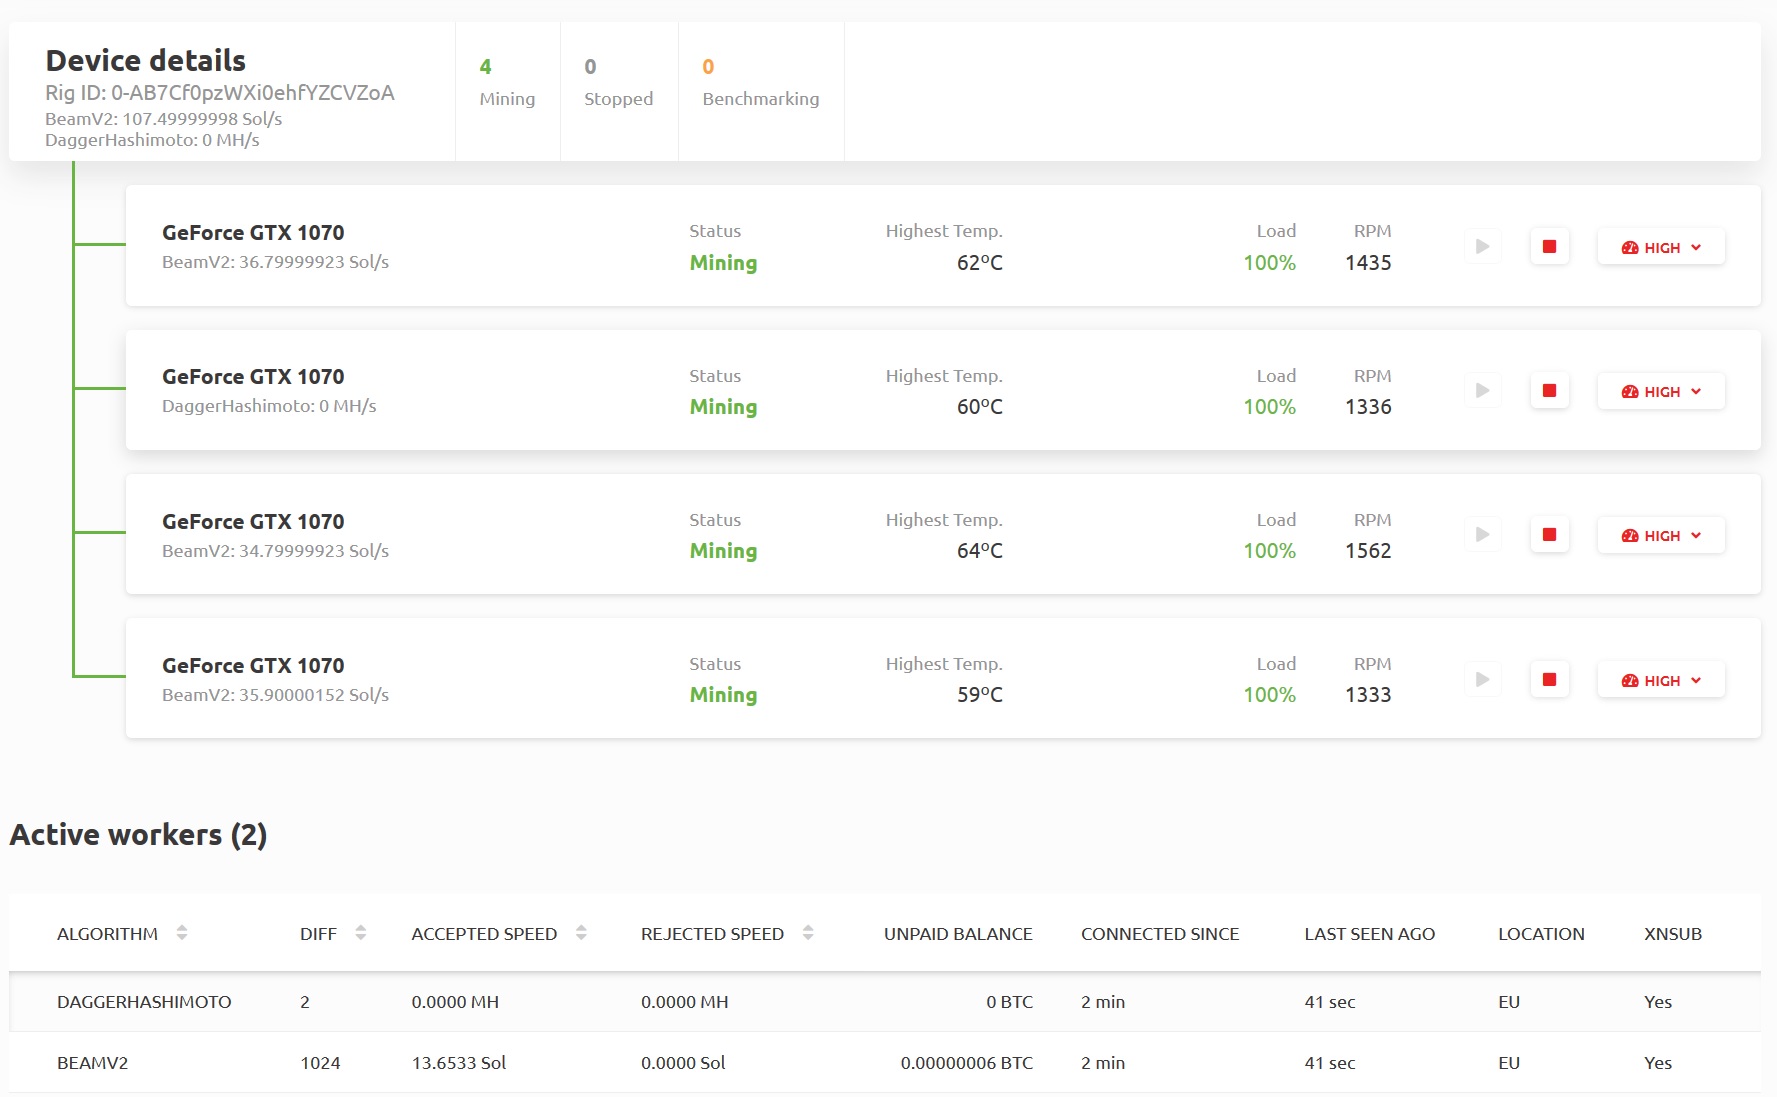
After testing, the platform itself will choose the most optimal profitability option for your equipment and start mining. It will look as follows.
Management compared to other Linux mining systems in Nicehash OS is as simple as possible. Here you can only start or stop mining and choose energy consumption from low to high. Depending on this setting, NiceHash OS will control the Power Limit setting of your video cards.
For each rig, you can open more detailed statistics of work, but there will not be more advanced management options here either.
Also here you can observe the statistics of your mining rig, i.e. when and what cryptocurrencies did he mine and how much did he earn on this.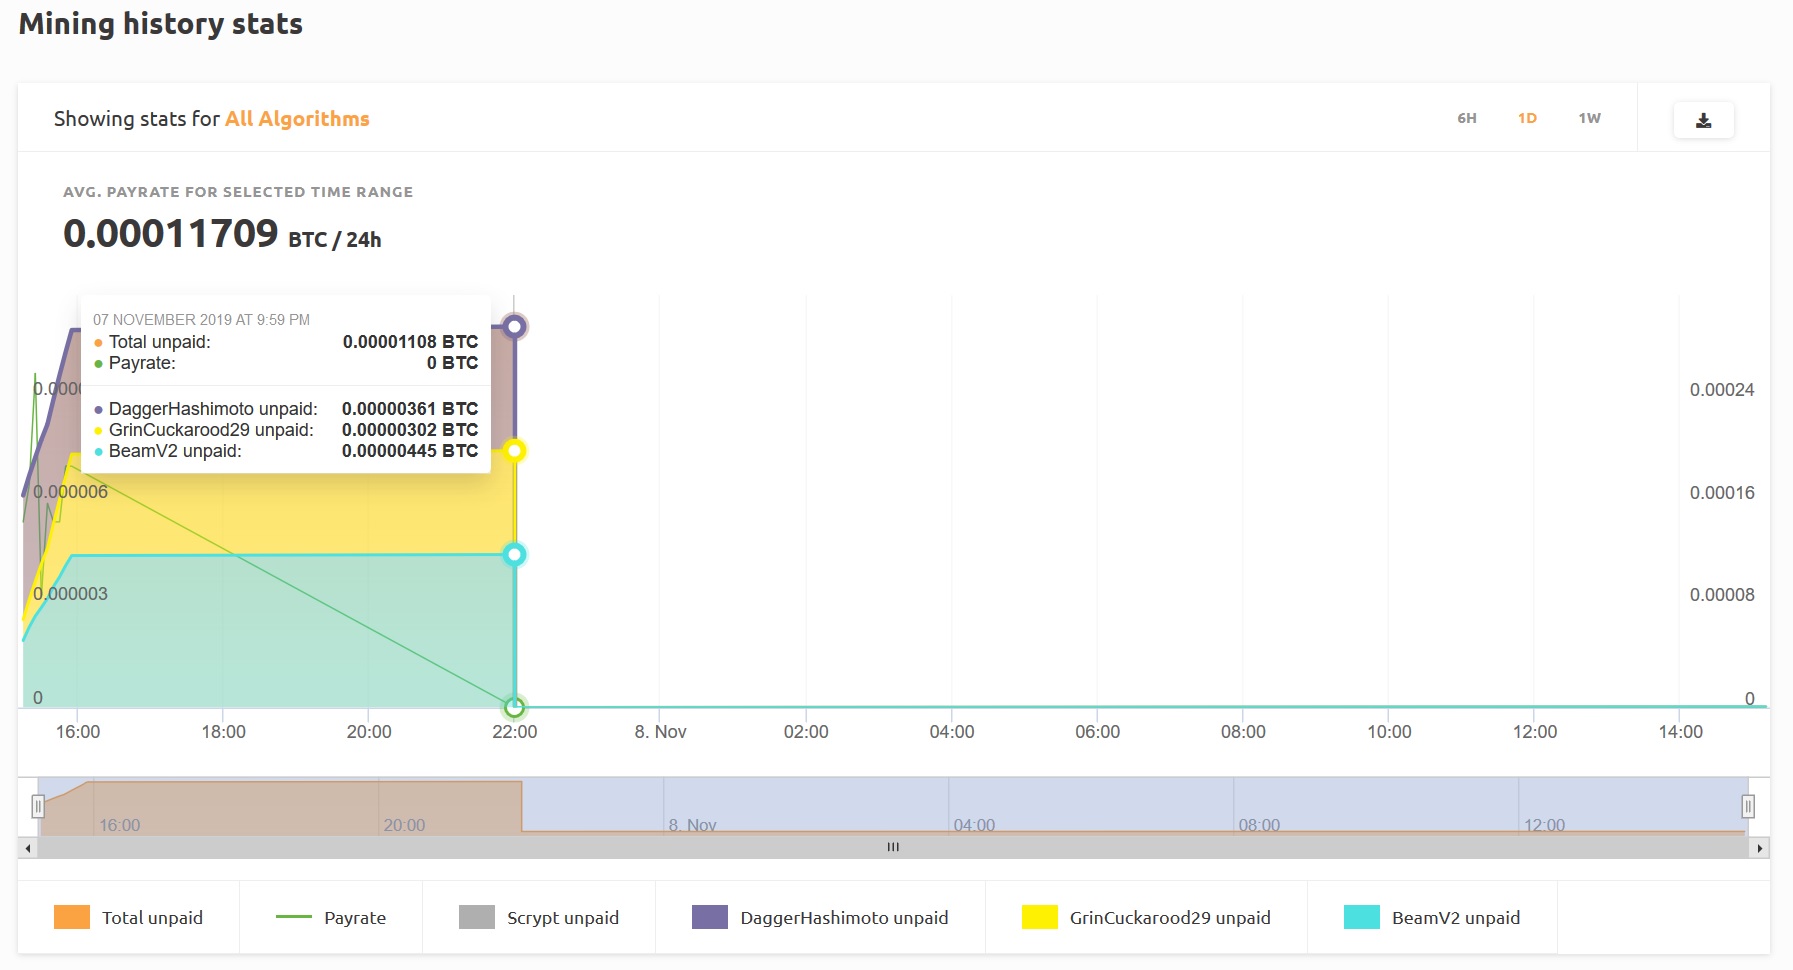
As you can see from the chart for an hour or so, our mining rig using Nicehash OS managed to mine three cryptocurrencies: Ethereum, GRIN and BEAM. Actually, these cryptocurrencies are now the most profitable for our Nvidia Geforce GTX1070 video cards.
Conclusion: The mining operating system NiceHash OS continues the tradition of its Windows application, providing the most hassle-free cryptocurrency mining service. By automating the selection of cryptocurrencies that are profitable for mining and withdrawing income only in Bitcoin. Which greatly reduces your time, which you will be forced to spend on mining in the traditional way. Of the minuses, this is the lack of fine-tuning of video cards for mining, only editing the BIOS of video cards, but those who choose Nicehash are unlikely to do this. And also a commission of 2% for using the Nicehash service.
If you want to save on commissions and do video card tuning to get the best results in mining from your equipment or are used to controlling everything yourself yourself, then pay attention to another Linux OS - HiveOS.