")
")
")
")
")


 On December 1, 2020, the zero phase of Ethereum 2 will start, for which deposits of 32ETH were previously collected for each validator in the new network. At the time of this writing, 815.219ETH has already been added to the genesis block ETH2, which corresponds to 25.475 validators. Everyone who deposited 32ETH became members of the new blockchain, in which the block reward goes not to miners and node owners (validators). But this is not the usual POS mining, when you just have cryptocurrency on your account and receive income depending on their quantity. In ETH2, the validator must install special software and be constantly online, only in this case the validator will profit from its ETH in the account. Otherwise, not an active validator, on the contrary, will lose its ETH deposit until its balance drops below 16ETH, at which point it will be excluded from the list of validators. Therefore, everyone who contributed their ethers so as not to lose their deposit, but on the contrary to earn money, you need to install the ETH2 client and keep it in working order. Next, we'll show you how to run the Ethereum 2 validator on Windows using the Pryzm client.
If you are experiencing difficulties installing and configuring your own Ethereum 2 node, you can use the Allnodes.com service. Setting up a server for Ethereum 2 costs 5 USD and the server itself is 5 USD per month.
Beacon chain Ethereum 2 launch on Windows 10
1. On the site dedicated to the transition to Ethereum 2 there is a special page with a checklist for which you can perform the procedure for starting the validator, but since it has a general recommendation character, it will be difficult for novice users to understand it. Therefore, we have prepared a more detailed guide for running validators on the Windows operating system.
2 First you need to download the PRYSM client for Windows. This can be done on the official site prysmaticlabs.com or on GitHub. Prysm client consists of 3 files: beacon-chain, slasher, validator

At the moment, the current version is 1.0.1 from 11/27/2020, because phase 0 is roughly beta testing, so check back often for newer versions of the Prysm client. Before starting phase 0, we also recommend checking for updates so that your client is ready to work from the very first blocks.
3 Copy the downloaded 3 files to a special folder. For these purposes, we have created a folder C:\ETH2\
4 Connecting Pryzm to the ETH1 network (to your own GETH node or to the free INFRA service)
Because using GETH requires synchronization with the ETH1 blockchain, so you need to have at least 300GB SSD.
To connect to INFRA, 20 GB is enough, but you will depend on the work of INFRA servers.
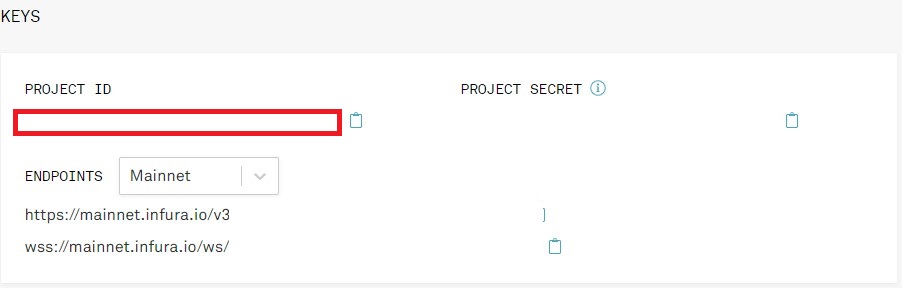
13 Connect PRYSM to INFRA, for this you need to register on the INFRA website and create your own project, copy your PROJECT ID from the website in your INFRA personal account
14 In the created folder C:\ETH2\, create a batch file beacon.bat and write the command to connect to ETH1 into it
| beacon-chain-v1.0.1-windows-amd64.exe --http-web3provider=https://mainnet.infura.io/v3/YOUR-PROJECT-ID |
don't forget to replace YOUR-PROJECT-ID with your INFRA ID
With a change in versions, the command of the launch file will also change
Instead of creating a bat file, you can use the Windows command line.
Enabling the Windows command line - WIN + R command CMD, in the command line you need to go to the created folder C:\ETH2, for this we use the command cd C:\ETH2.
Next, enter the same command as for the bat file
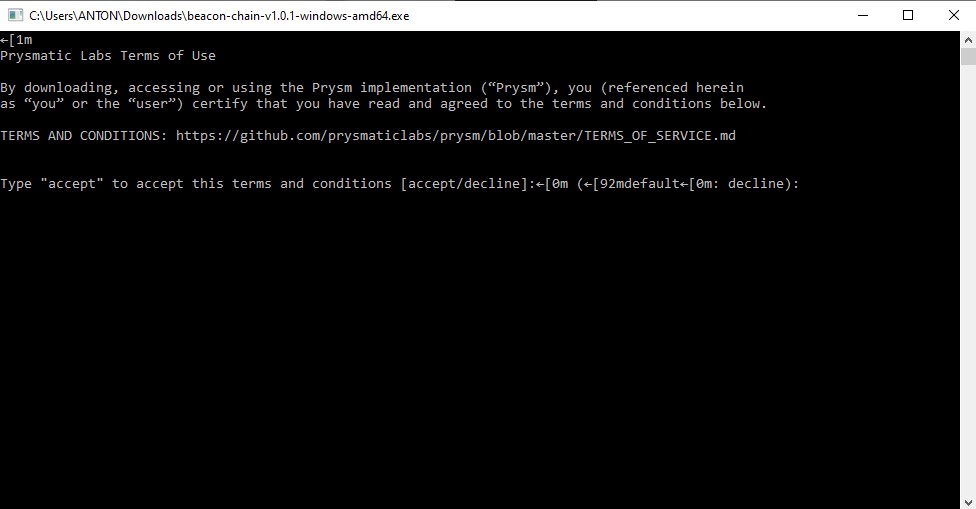
At the first start, you will need to enter the ACCEPT command, confirming agreement with the terms of use

You should see the message: Connected to eth1 proof-of-work chain
If you decide to use your own ETH1 (GETH) node, then the command will be as follows
| beacon-chain-v1.0.1-windows-amd64.exe --http-web3provider=http://localhost:8545 |
The window with the command DO NOT CLOSE!
Installing ETH1 client - GETH (skip for those who chose to use INFRA)
1 Download the ETH1 client in our case GETH from the geth.ethereum.org website
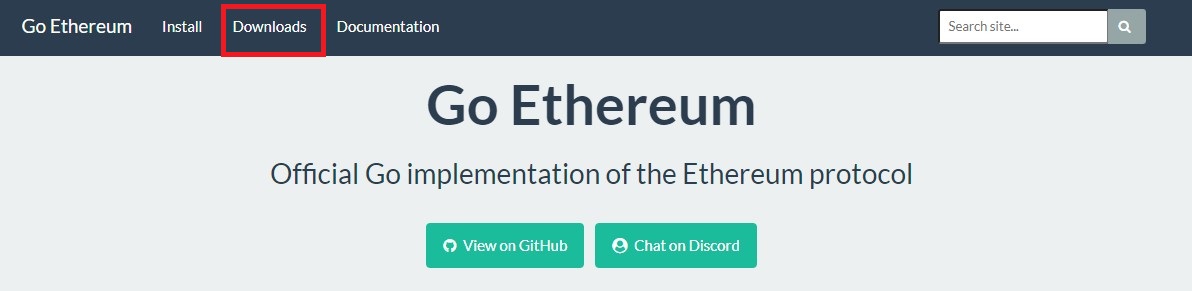
2 Go to the Downloads tab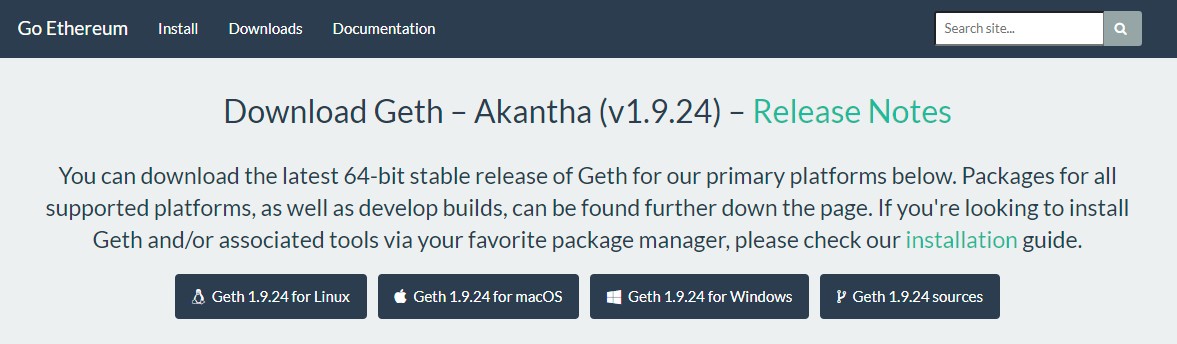
5 Download the client for your OS, in our case it's Windows
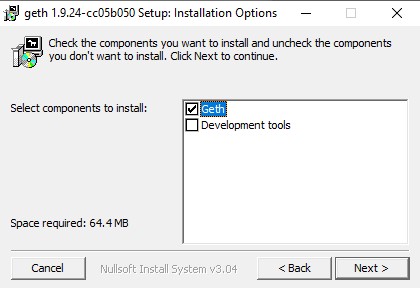
6 Install Geth client without developer package
7 Start Windows Command Prompt - WIN + R command cmd
8 Enter command
| geth --rpc --rpcaddr "192.168.1.100" |
geth - run this program
--rpc - allows you to work with smart contracts
-rpcaddr "192.168.1.100" - the address of our node
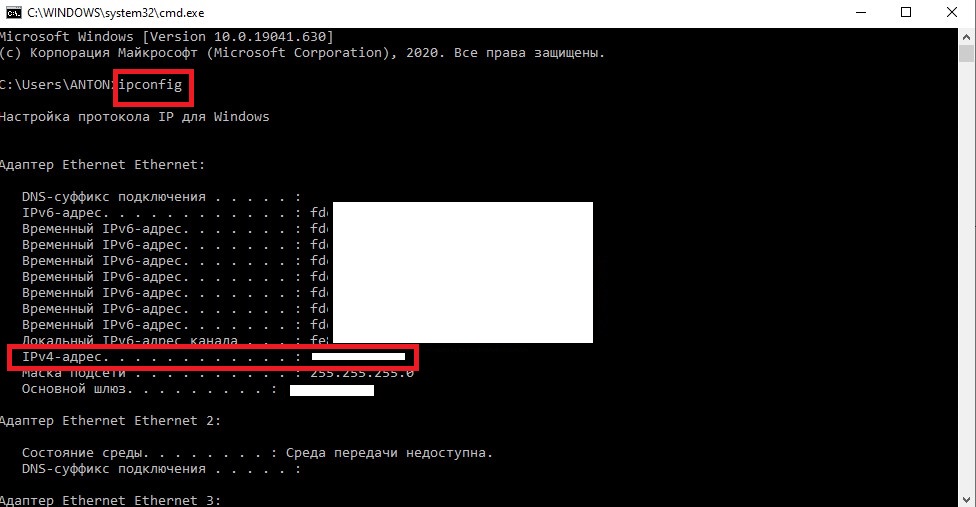
where 192.168.1.100 is the IP address of your computer on your (local) network. You can also find out your IP through the command line WIN + R - the CMD command, then the ipconfig command. The IP address you need is written in the IPv4 line
9 Wait for GETH synchronization with the Ethereum blockchain, which can take several days and 300Gb of SSD space. It is recommended to use an SSD because for conventional HDDs, the write speed is low, due to which the synchronization can take a long time or cannot synchronize at all due to the fact that the HDD will not have time to record all the current changes in the network.
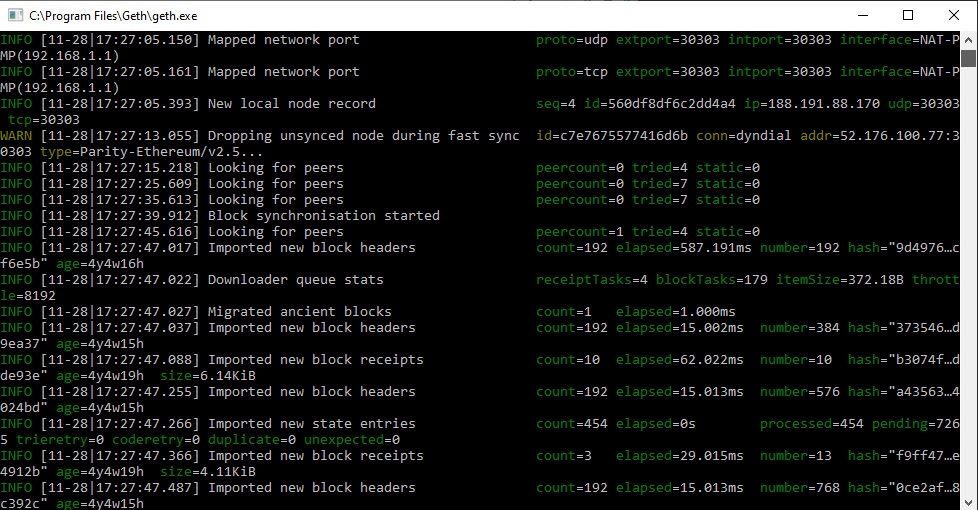
The recording of network blocks for synchronization goes to the C:\Users\NAME\AppData\Local\Ethereum\
Importing a Validator Account into PRYSM
1 Now we need two files deposit -data and keystore stored in the validators_keys folder, which you received from launchpad.ethereum.org when you sent your 32 ethers to the genesis block ETH2.
2 Copy the entire validators_keys folder to the Pryzm folder (C:\ETH2\)
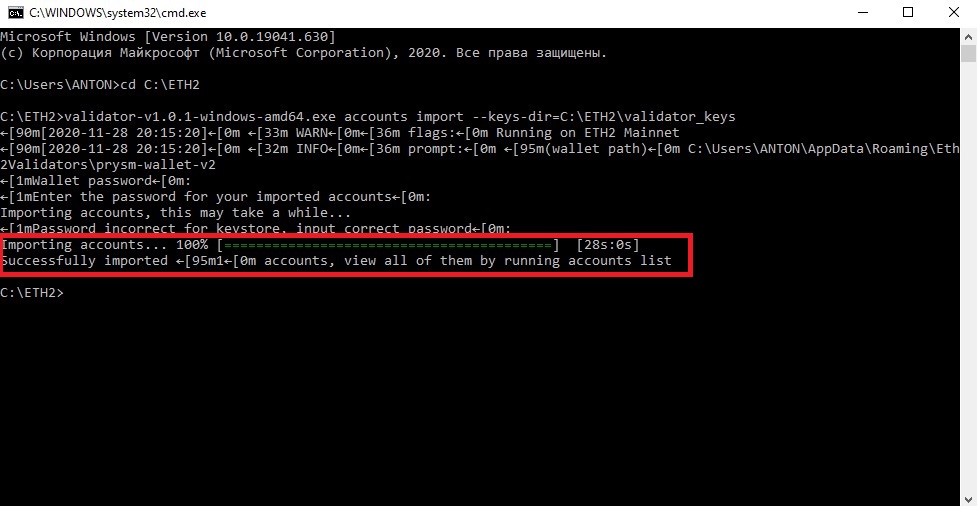
3 Enter the command to import via Bat file or command line.
| validator-v1.0.1-windows-amd64.exe accounts import --keys-dir=C:\ETH2\validator_keysvalidator-v1.0.1-windows-amd64.exe accounts import --keys-dir=C:\ETH2\validator_keys |
Please note the command indicates the directory for our example. You may have a completely different folder.
Next, enter the password for the account that was set when it was created at the stage of making a deposit.
Next, you should see a message that the import was successful.
Ethereum 2 validator launch
1 Create Bat file (validator.bat) with command or enter this command in Windows command prompt.
|
validator-v1.0.1-windows-amd64.exe validator |
Enter the password to the validator
The launched validator window DO NOT CLOSE
After successful launch of validator.bat, a message will appear in beacon.bat: New gRPC client connected to beacon node
You should now have two windows Beacon.bat and Validator.bat working
Getting a POAP badge for participating in Ethereum Phase 0 2
POAP are special ERC-721 tokens that are awarded for certain achievements. Actually, for participating in phase 0 Ethereum 2.0, you can get a badge to your ETH1 address from which the deposit was made
1 Go to the POAP Code Generation Page
2 Here you need to specify the address of your ETH1 wallet from which you made a deposit 32ETH
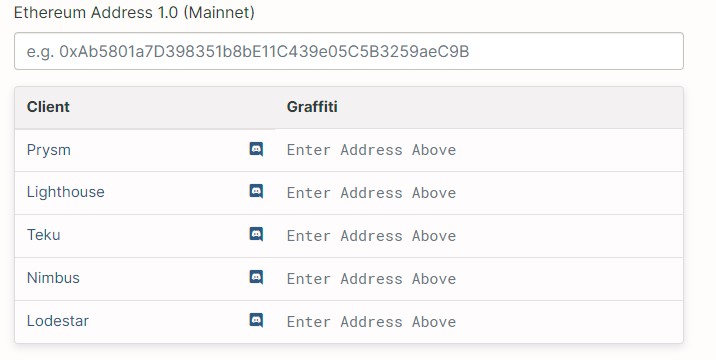
3 Copy the resulting graffiti for Pryzm
4 Modify Validator.bat file
|
validator-v1.0.1-windows-amd64.exe validator --graffiti "Graffiti" |
where Graffiti is the copied POAP code
5 Run modified Validator.bat
The procedure for obtaining a badge of a Phase 0 Ethereum 2 participant is optional, so you can also skip this step.
Configuring Windows for Ethereum POS Mining 2
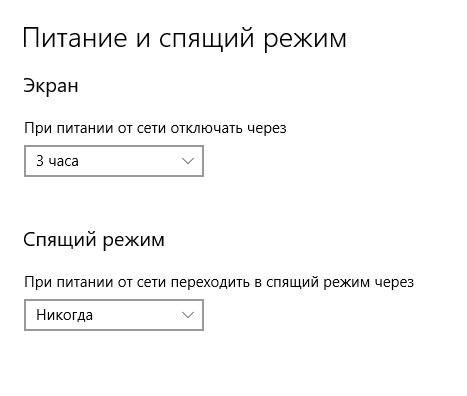
The first Windows setting to work as a validator for the ETH2 network is to disable sleep mode.
For Windows 10, right-click on START, then select Power Management and disable Hibernation. You can leave the screen off.
IMPORTANT! Add the downloaded Ethereum 2 files to the list of allowed programs for your firewall (antivirus). It is also necessary to forward TCP 13000 and UDP 12000 ports on your router. More details on this link
IMPORTANT! Your computer must have dedicated IPv4 for stable operation. Using dynamic IPs from your ISP is not recommended. Your node will skip online certification, which means it will lose income from POS mining.
Before the start of phase zero, the launched beacon signals the remaining time before the start of phase zero and from the start it will be included in the work of the entire Ethereum 2 network, while receiving a reward for working in Ethereum. If you do not launch your ETH2 validator, then penalties "for absence from work" will be debited from your 32ETH deposit. Therefore, we recommend that you run the ETH2 validator according to our instructions on your home computer, which will not be used on an ongoing basis and is pre-updated to the latest version of Windows and cleaned of unnecessary programs, checked by an antivirus for viruses, trojans and worms.