 Ethereum cryptocurrency has become popular due to its smart contracts, on the basis of which all DeFi, DEX, ICO and IEO projects operate. And each project, as a rule, has its own token that needs to be stored somewhere. Such a universal means for storing the Ethereum cryptocurrency itself and all the tokens issued in its network is the Metamask cryptocurrency wallet, which in turn is the standard in the cryptocurrency industry.
Downloading and installing Metamask wallet
Actually installing the Ethereum wallet is not a difficult process, the most important thing here is not to fall for the tricks of scammers who, wherever possible, try to slip their version of this wallet in order to steal all your crypto savings without unnecessary hassle. First of all, when downloading, turn to the site, it should be exactly with this name: metamask.io. A very common trick is to place an ad in Google or Yandex on a site with a very similar name, for example, metamack.io. Because advertising always stands above ordinary sites, so many people follow this link and lose all their ethereum a little later.
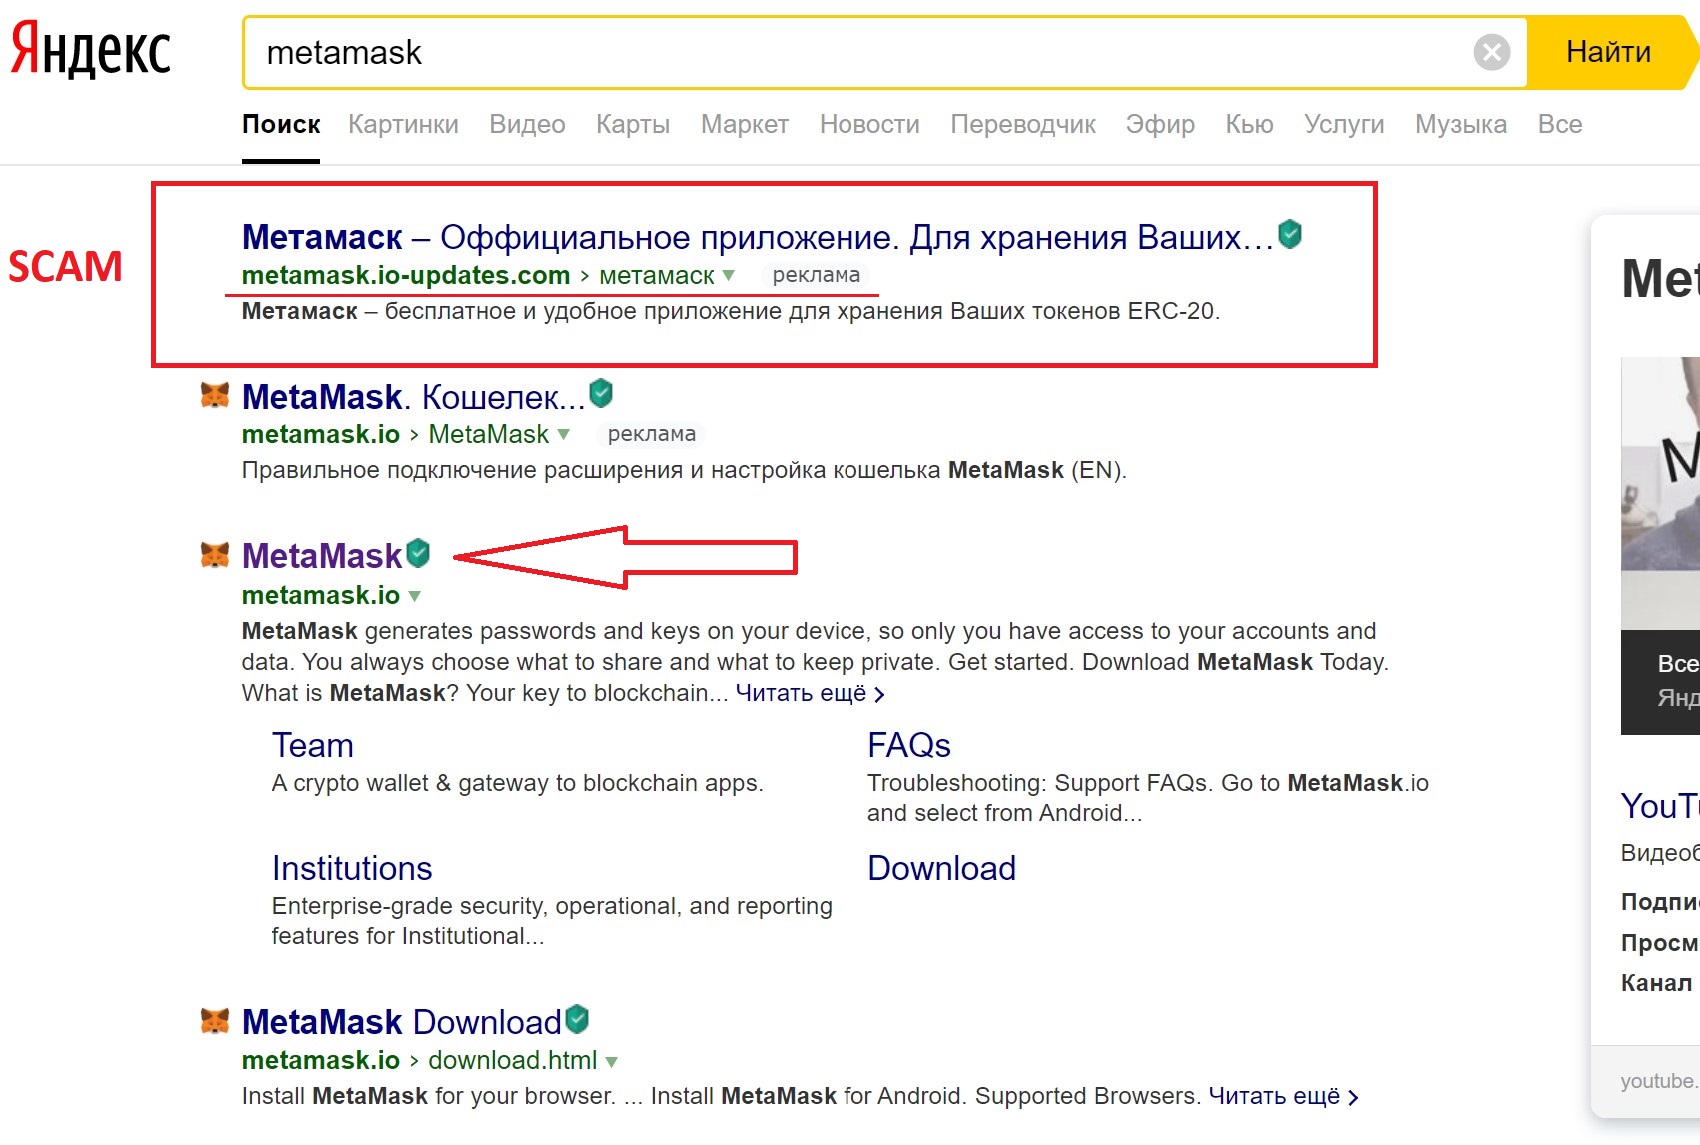
To install the application in your Chrome or FireFox browser, go to the official website Metamask.io
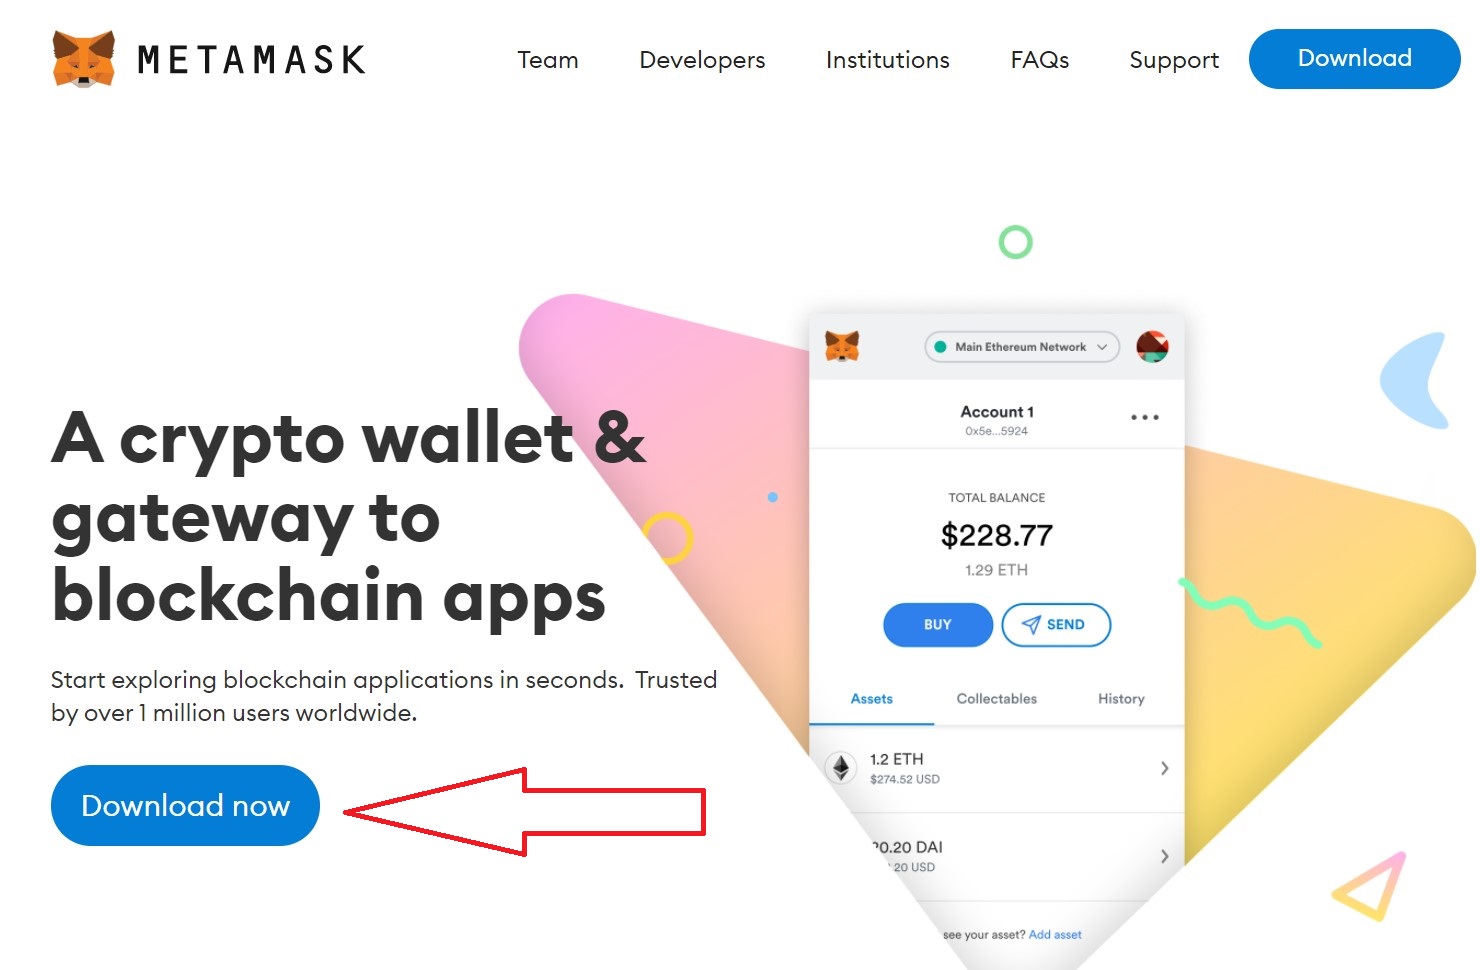
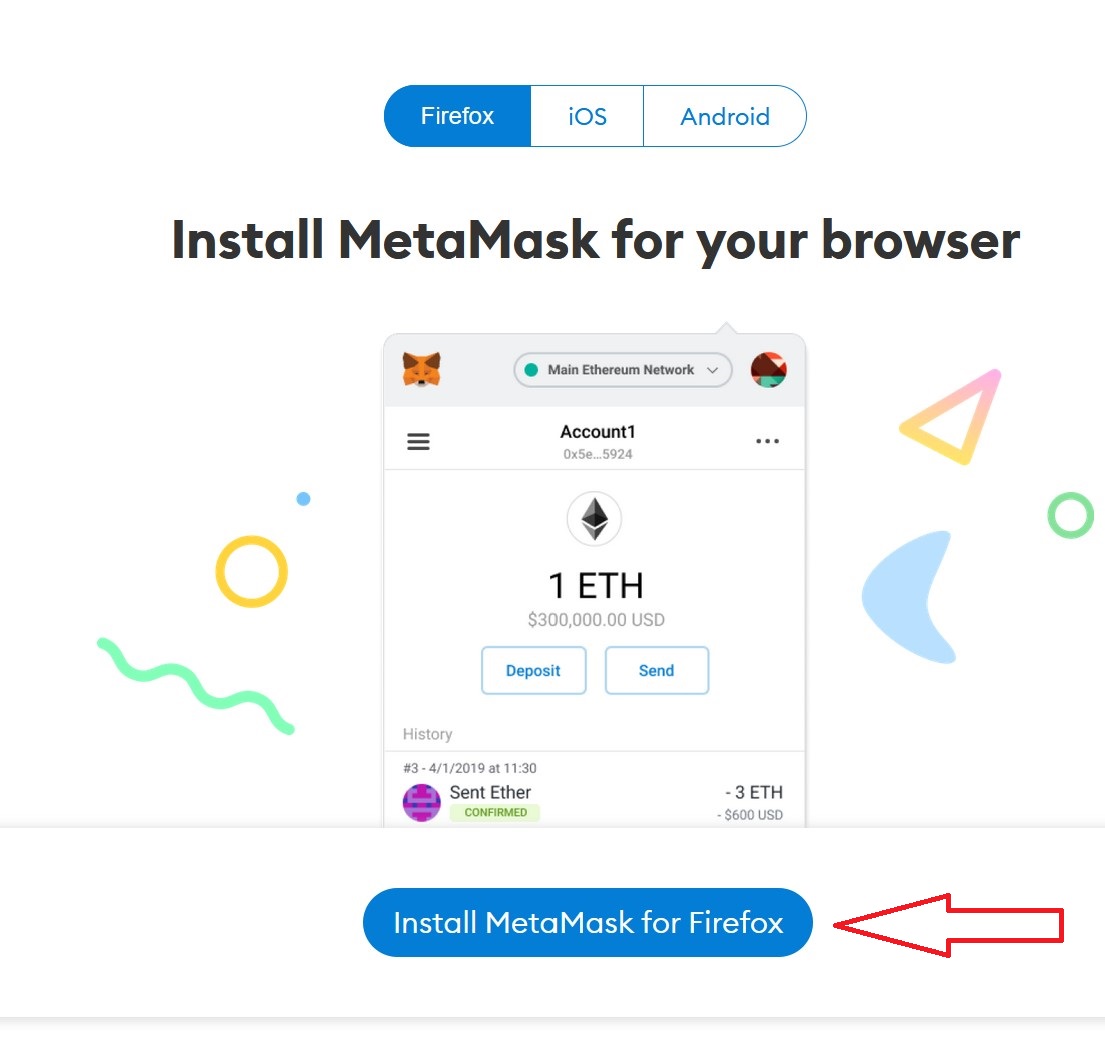
The site will automatically select the required file for your browser. To download it, you need to click on the "Install Metamask for FireFox" button for the firefox browser. For the Chrome browser it will be written: download for the Chrome browser.
After that, you will be taken to the menu for installing extensions for the browser with the selected Metamask application. You can get to this menu yourself through the Menu-Settings-Extensions of the browser itself
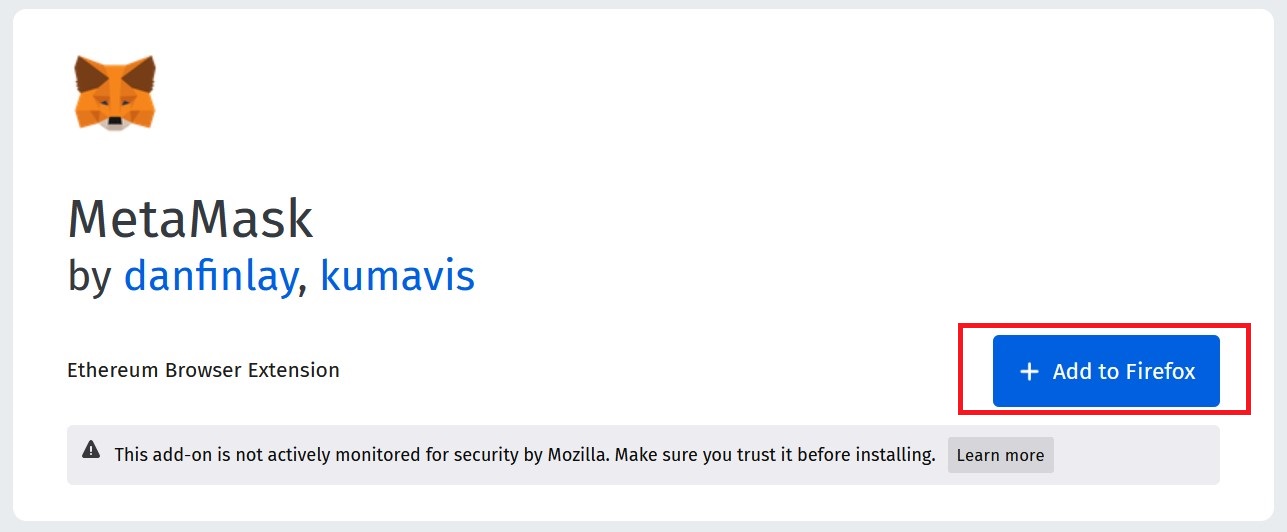
To install, click on the "Add to FireFox" button, then allow the browser to install this application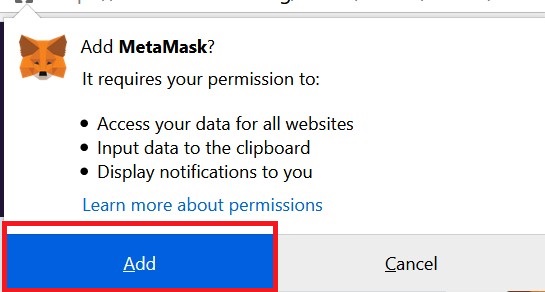
Metamask is installed as an application built into your browser. After installation, an icon of a red fox appears in the application menu on your screen, the metamask Ethereum wallet initial configuration window will open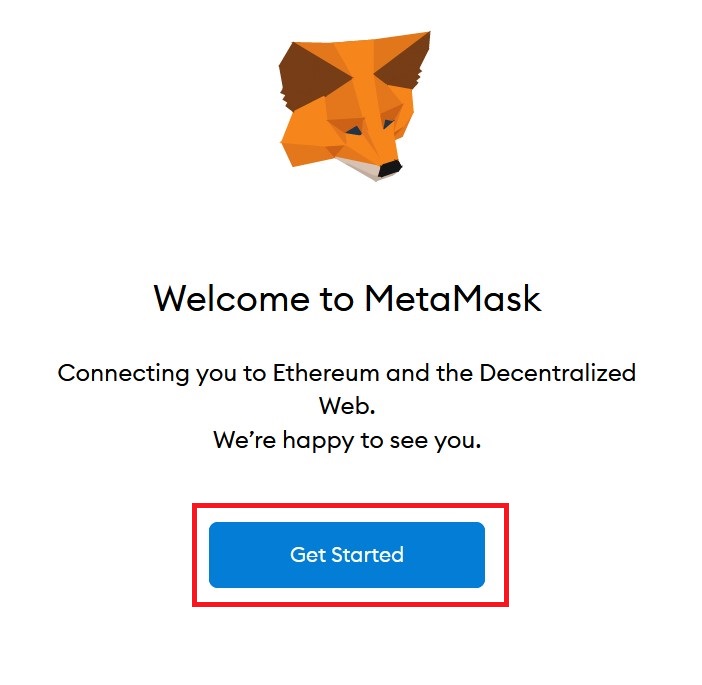
Because this is our first metamask installation, then select "Create a wallet". The second option is suitable for those who have already installed Metamask and have a secret phrase for recovery.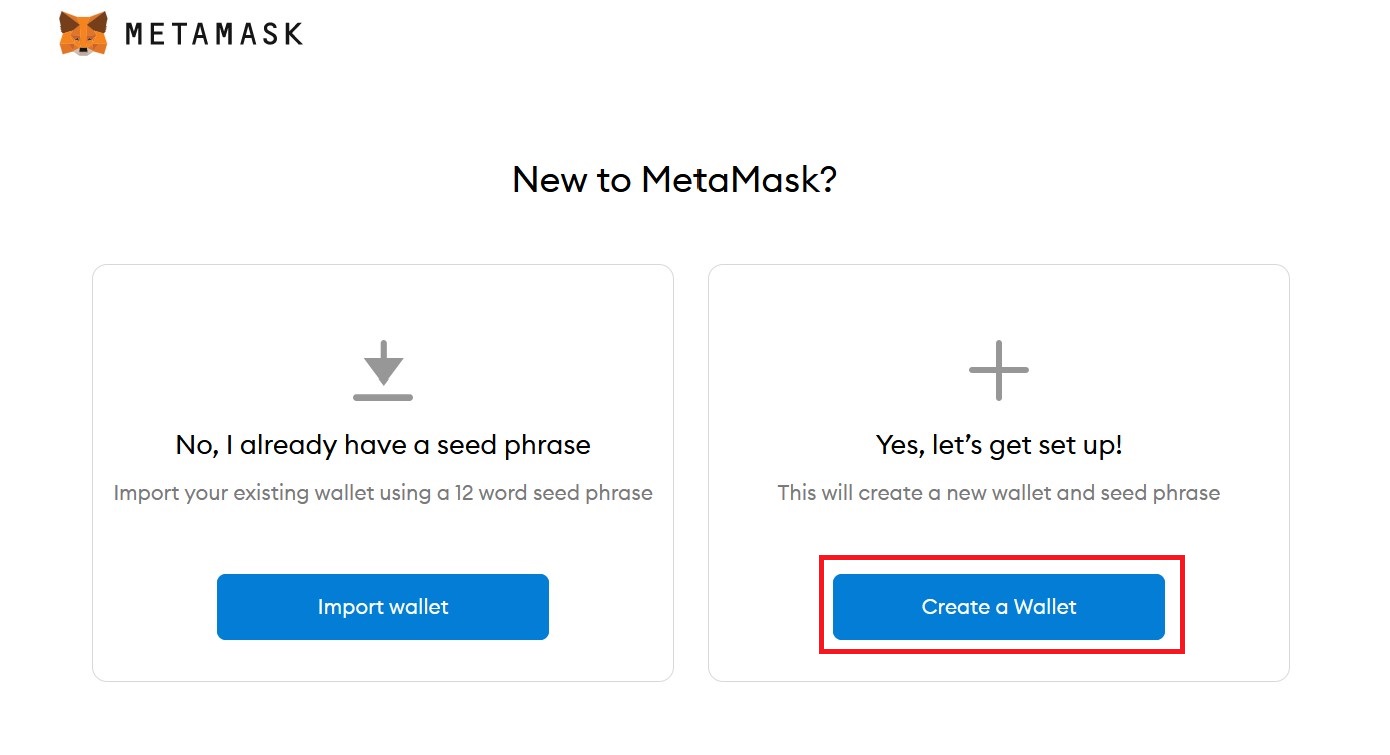
We agree to the terms of use of the program "I agree"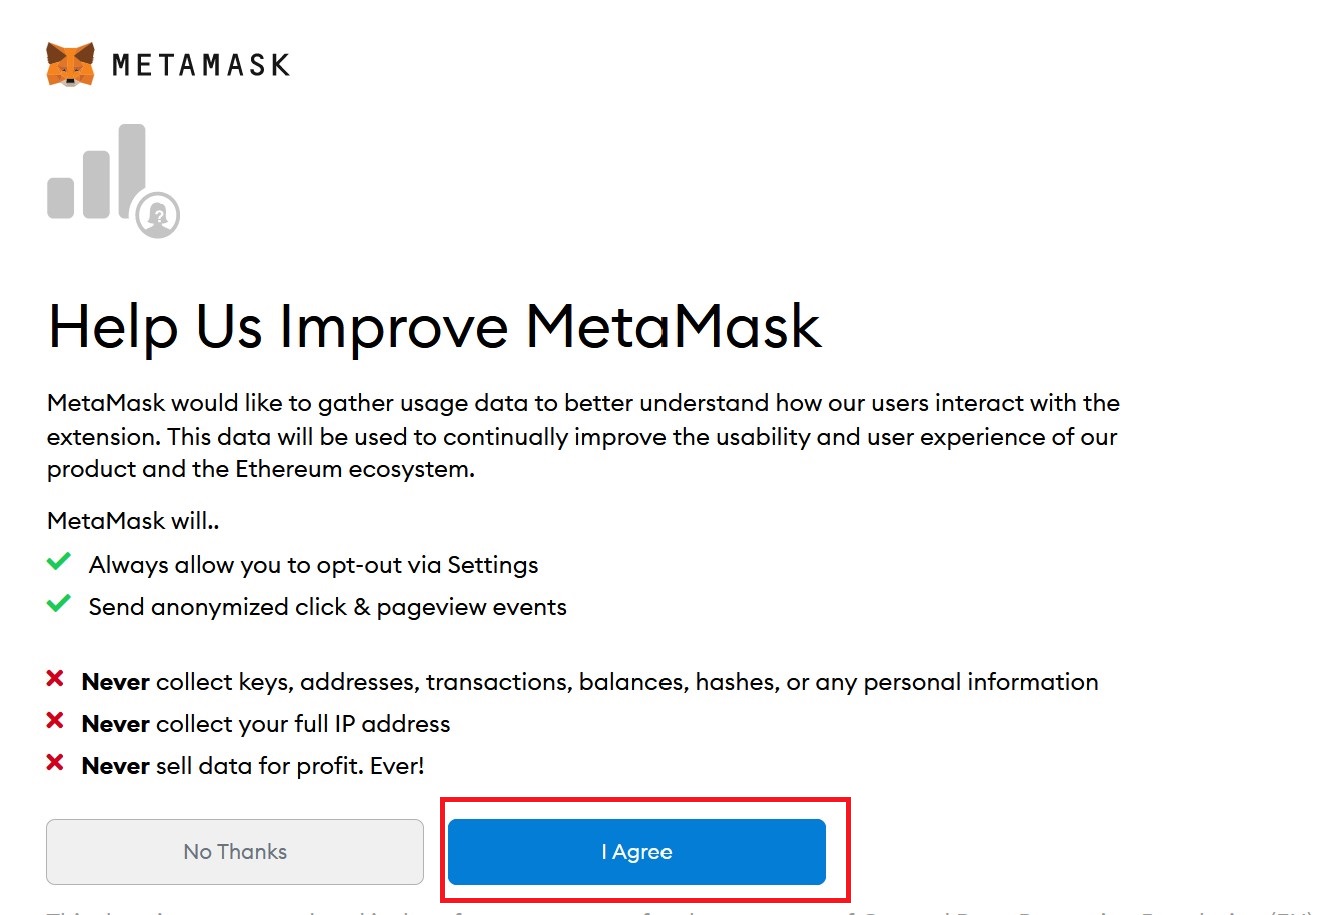
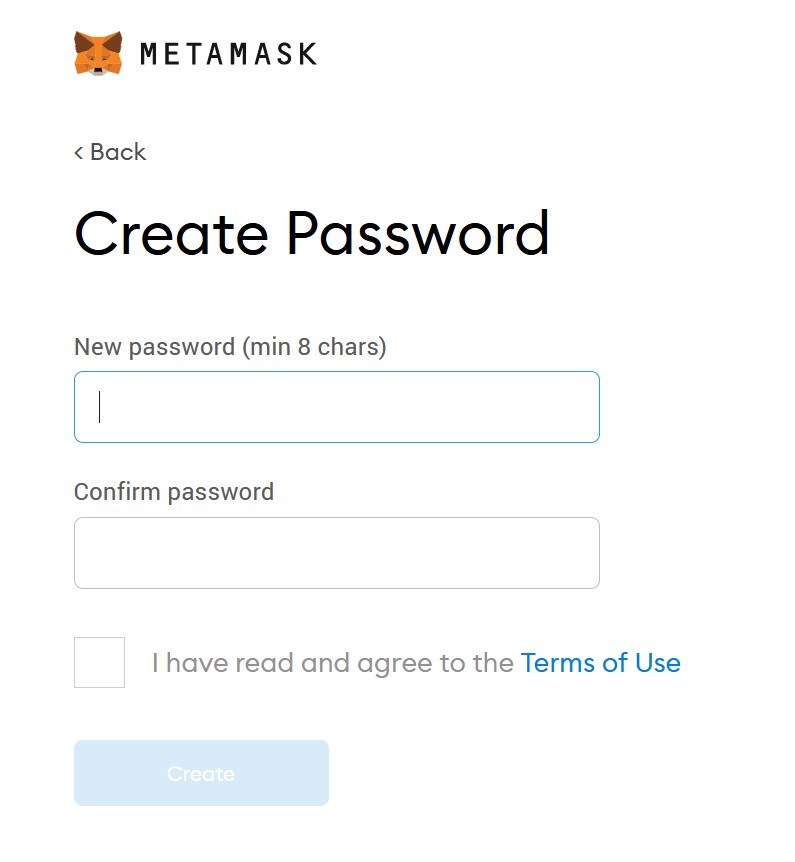
We come up with our own password, preferably a complex one, so that it is not easy to pick it up in case of a device loss or hacker attack. With this password, your wallet will be unlocked for making various transactions on the Ethereum network
The next step is to write the secret phrase on a piece of paper or some other safe place. Click on the gray window with the lock symbol when you are sure that there are no strangers nearby.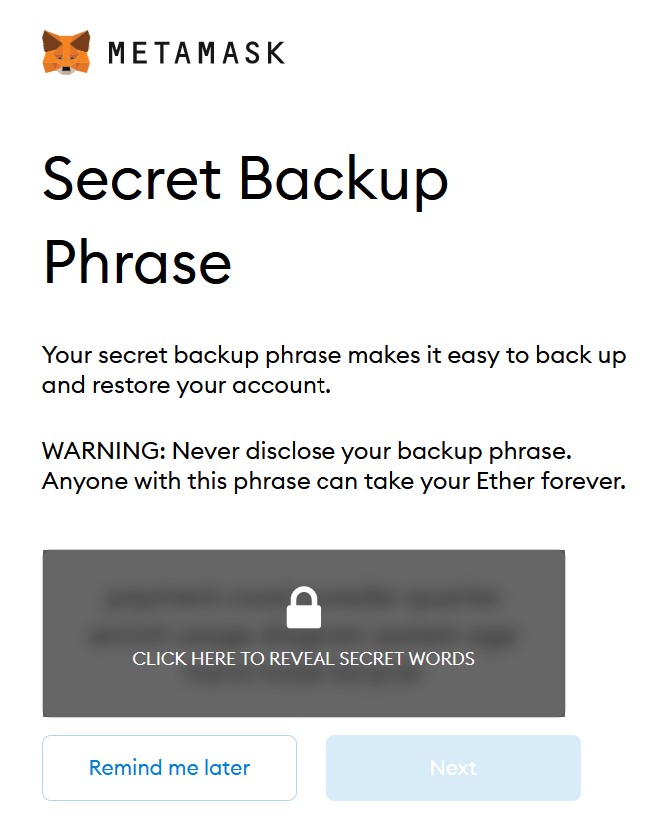
Next, to make sure that your entries are correct and you have not made mistakes, enter your secret phrase using the words in the buttons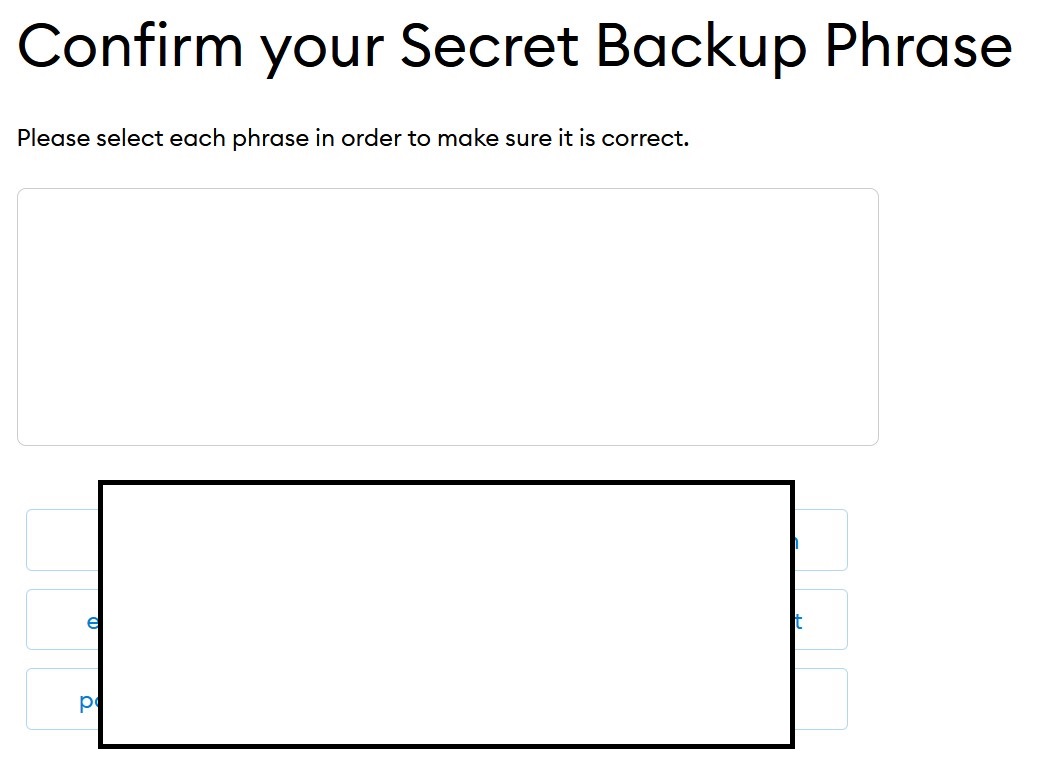
Congratulations, you've created your first Metamask wallet for Ethereum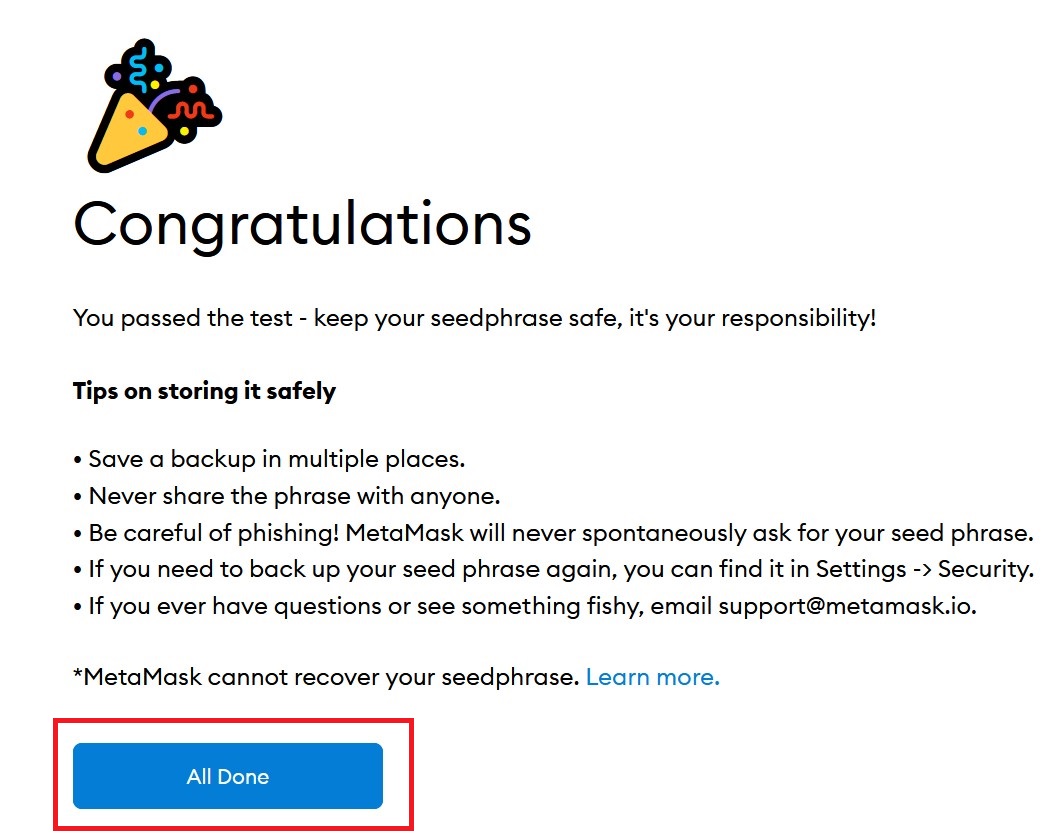
Using the Metamask wallet
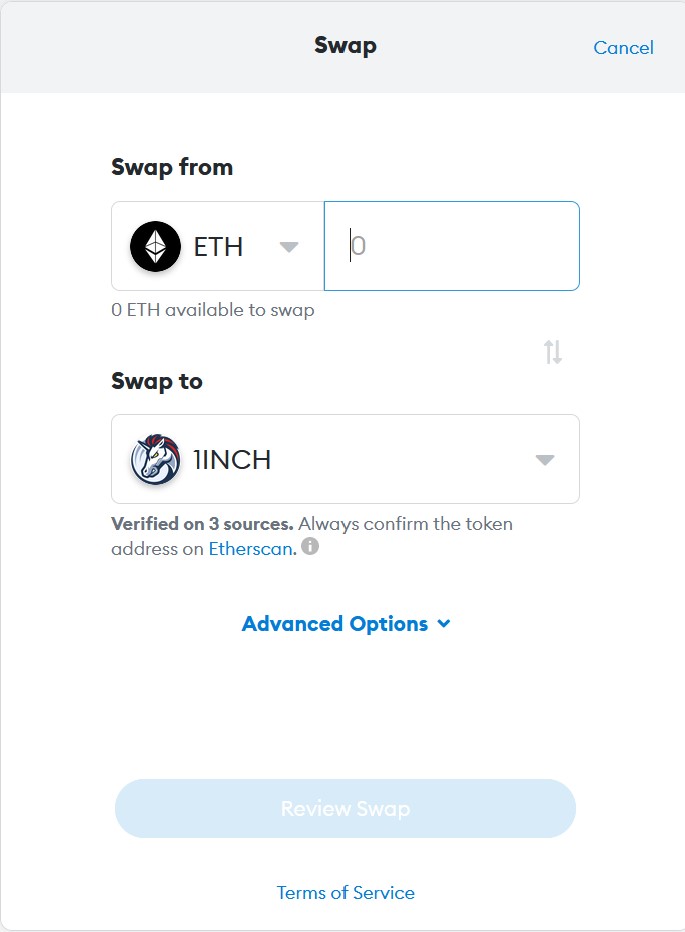
Immediately after installation, metamask will offer to swap (change) tokens, but since you do not have Ethereum or tokens on your account, so we will skip this step and move to the step of buying Ethereum and withdrawing them to the Metamask wallet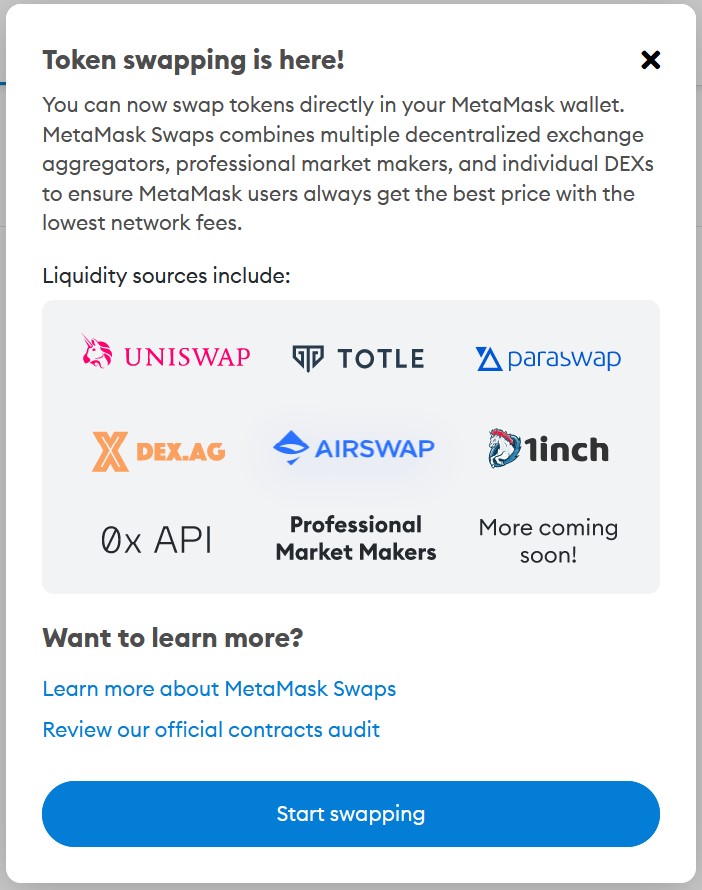
Buying Ethereum and transferring cryptocurrency to your wallet
You can get your first Ethers on cryptocurrency exchanges, which provide a service for buying cryptocurrencies using bank cards. More details on how to buy Ethereum can be found in this article: Buy bitcoin reliably and securely with a bank card visa, mastercard. The only difference is that you will not buy Bitcoin, but Ethereum. In addition to Binance.com, other classic cryptocurrency exchanges can be used to buy cryptocurrencies: Huobi, Bitfinex, Poloniex, Kucoin
You can also use exchangers to buy cryptocurrencies, but we do not recommend using them, although it is much easier, but not safe. To find a suitable exchanger, there are exchanger monitoring services like Cryptoexmon.com
When a cryptocurrency is bought on an exchange and you need to withdraw it to your wallet, but for this you need to know the withdrawal address or wallet number.
To do this, go back to the metamask wallet, for this you need to click on the fox icon in the browser application menu

The wallet window will open and if you have already closed the browser, then when you reopen the browser, you need to re-enter the wallet password to unlock it.
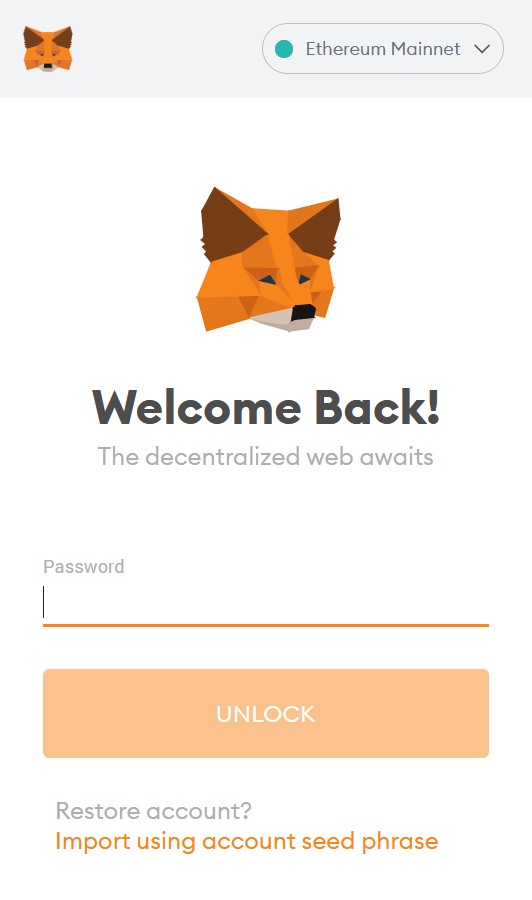
After entering the password, you will see the dialog menu of the wallet itself. To find out your address, you need to click on the button with the address, after which the address will be copied to your clipboard. Further, this address can be inserted with the CTR + V command on the exchange for withdrawal.
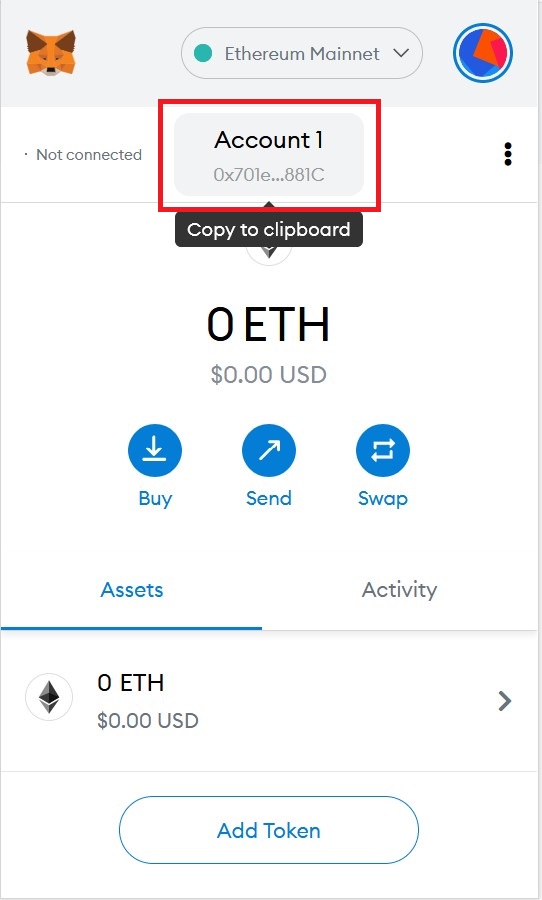
After withdrawal from the exchange, a balance will appear on your balance in the Metamask wallet with which you can already buy Defi tokens.
Buying tokens on DEX exchanges
The Metamask wallet can be used not only to store ETH, but also to buy other cryptocurrencies that use the ether network, such as USDT, or DeFi tokens of various projects.
To buy Defi tokens, you need to go to the decentralized exchange (DEX) and connect your wallet, the wallet at this moment must be activated, i.e. you need to enter a password.
Consider an example of buying a 1inch DeFi token on the DEX exchange of the same name https://app.1inch.io/#/r/0x7a10956dcd1319415349ac38ef95ac1d50c40c29. go to the exchange and click the "Connect wallet" button

Next, a window appears where you must select your wallet. In our case, this is Metamask and agree to the terms by checking the "I acceppt"
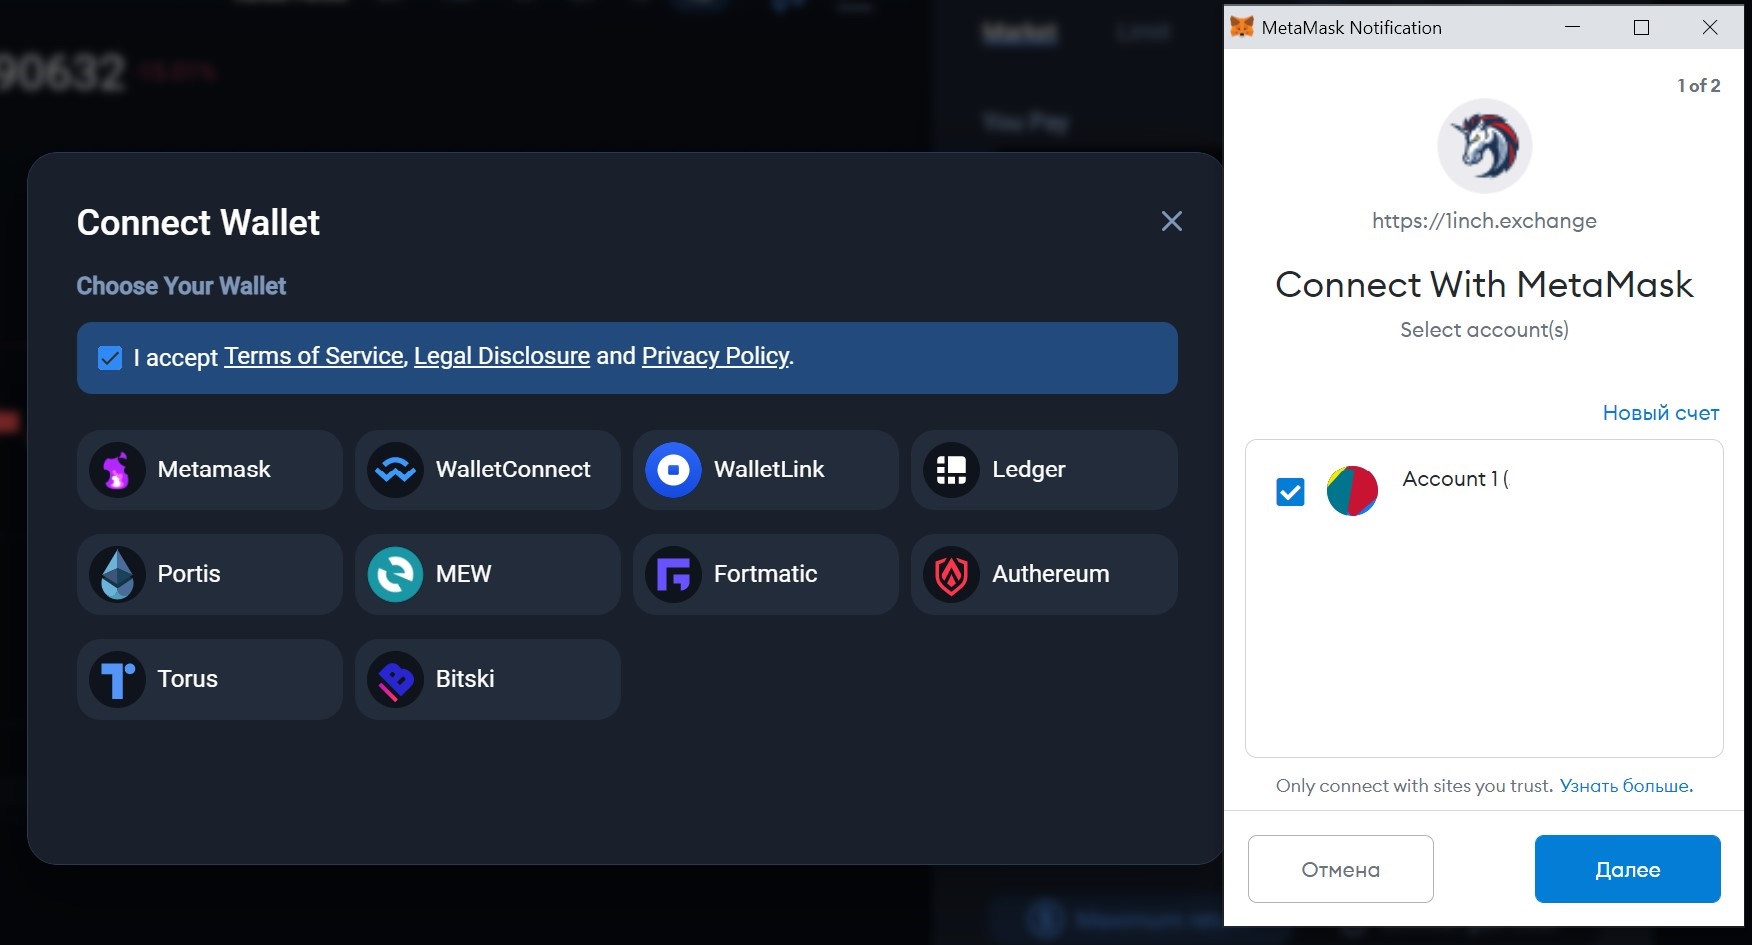
In the wallet, select the address with which you want to link the exchange. In our case, there is only one address with the name Account1. Select it and click "Next"
The next step is to confirm that you agree to connect your wallet to the exchange. In this case, the exchange will have access to the balance on your wallet. All other actions will be only through confirmation in Metamask itself
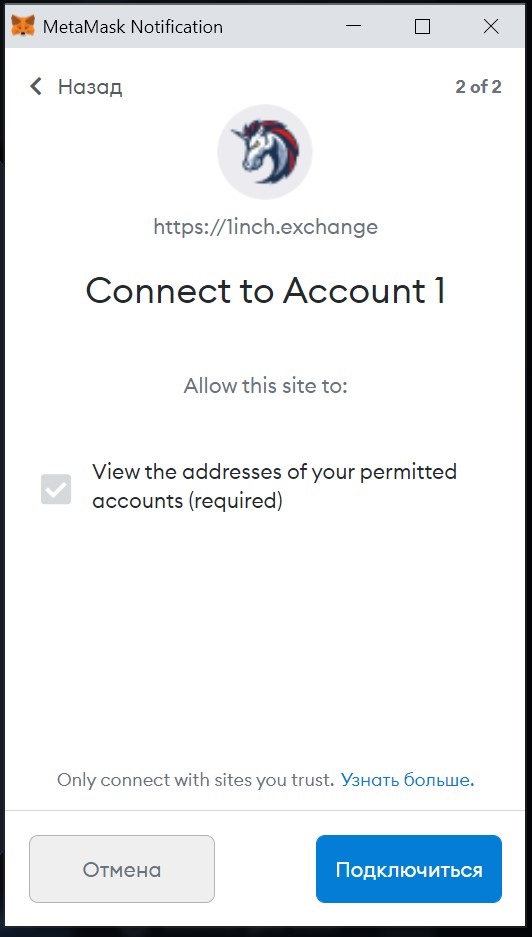
After connecting the wallet, your balance and wallet address will appear on the exchange (exchanger).

After that, you can make exchanges on the 1inch.exchange platform
We will exchange ETH for tokens of the exchange itself 1inch
Select 1inch in the exchange menu by searching, indicate the desired amount of ETH for exchange and click on the "SWAP Token" button
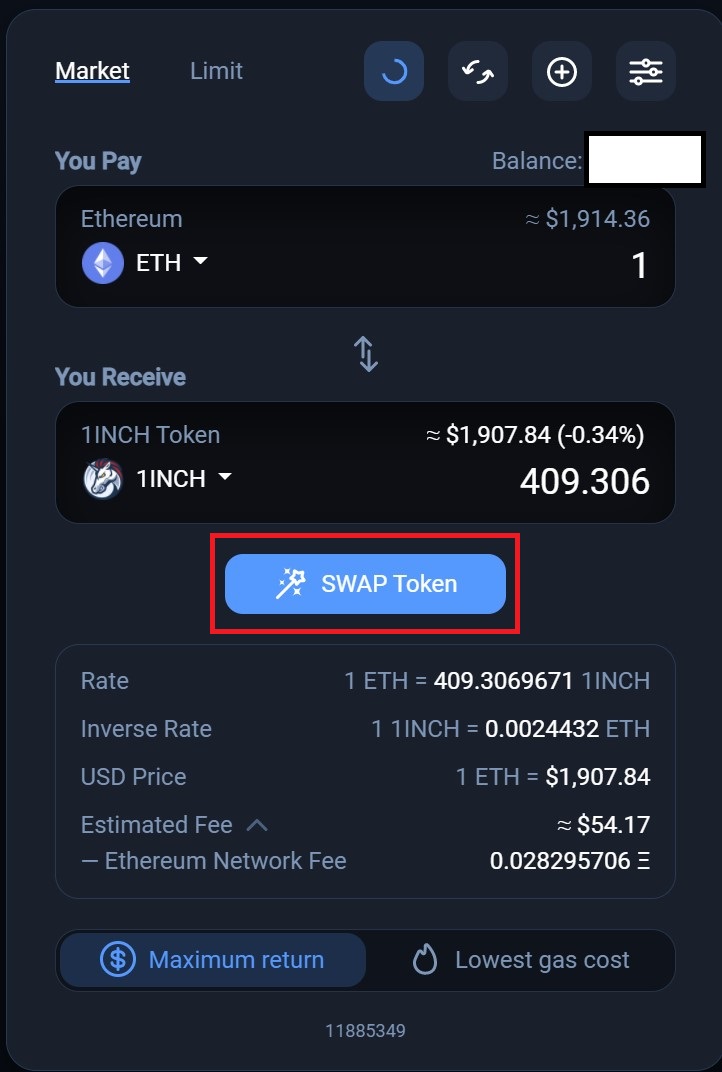
Pay attention to the cost of the "Estimated Fee" commission in our case, the commission was 54 USD. To find out a lot or a little, read the gasnow service review.
If you are satisfied with the price and commission for the token, then click the "SWAP Token" button
Next, a confirmation window will pop up so that you check again all the terms of the transaction. We press the same button SWAP
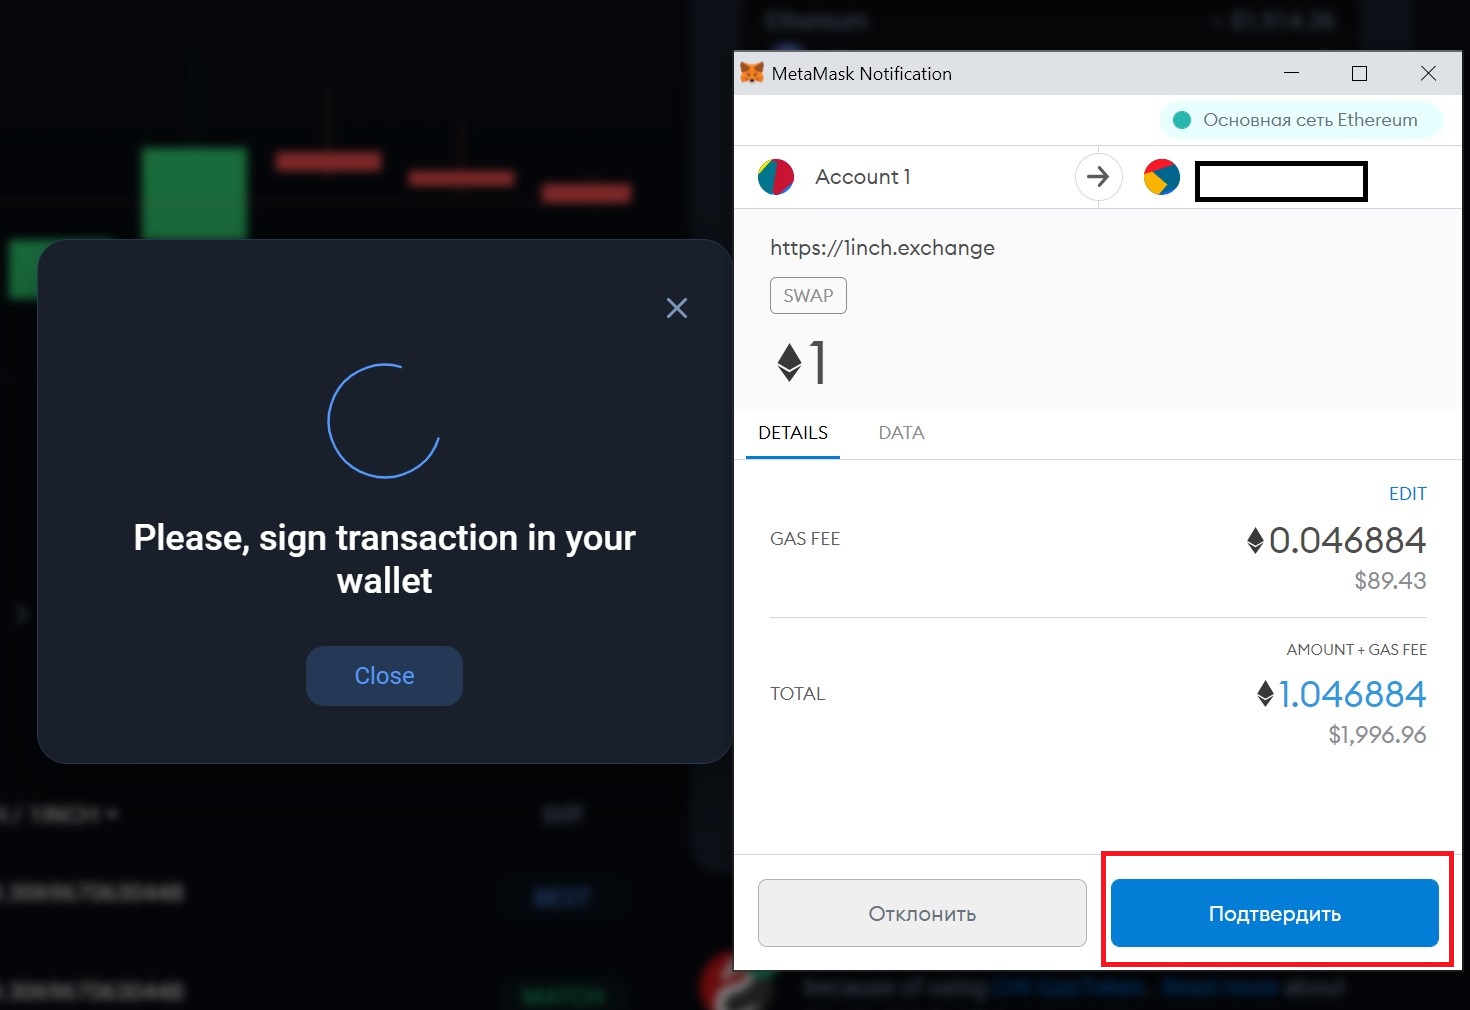
The last step is to confirm the exchange operation in your Metamask wallet. Also at this stage, you can reduce the commission by clicking on the EDIT button in the GAS FEE window, but this is not recommended, because the transaction may simply be canceled due to the long confirmation period of the transaction in the ether blockchain due to the low commission.
Additional features of the Metamask wallet
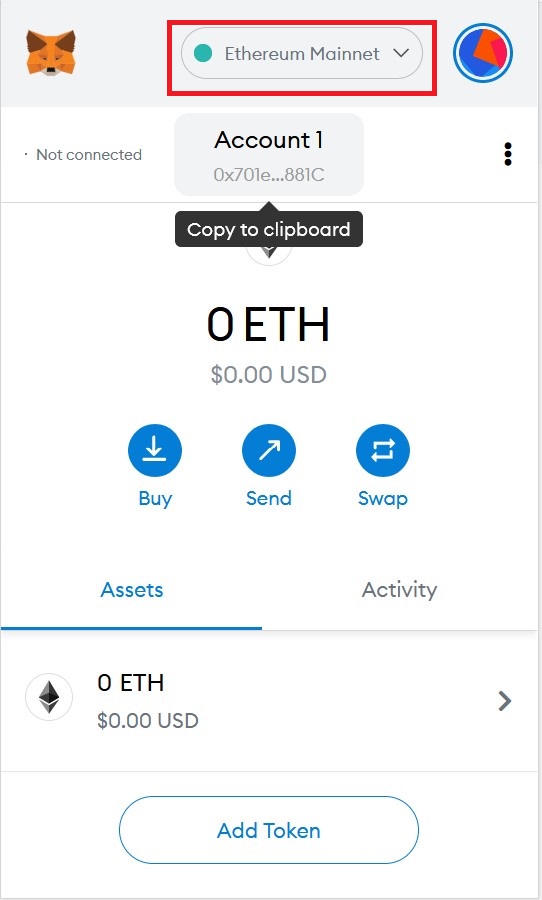
Metamask can work not only on the main Ethereum blockchain, but also on test ones or on your own network. To do this, there is a menu for switching between networks in the settings. If you are not a developer, then always make sure that your wallet is connected to the main network (Ethereum mainnet)
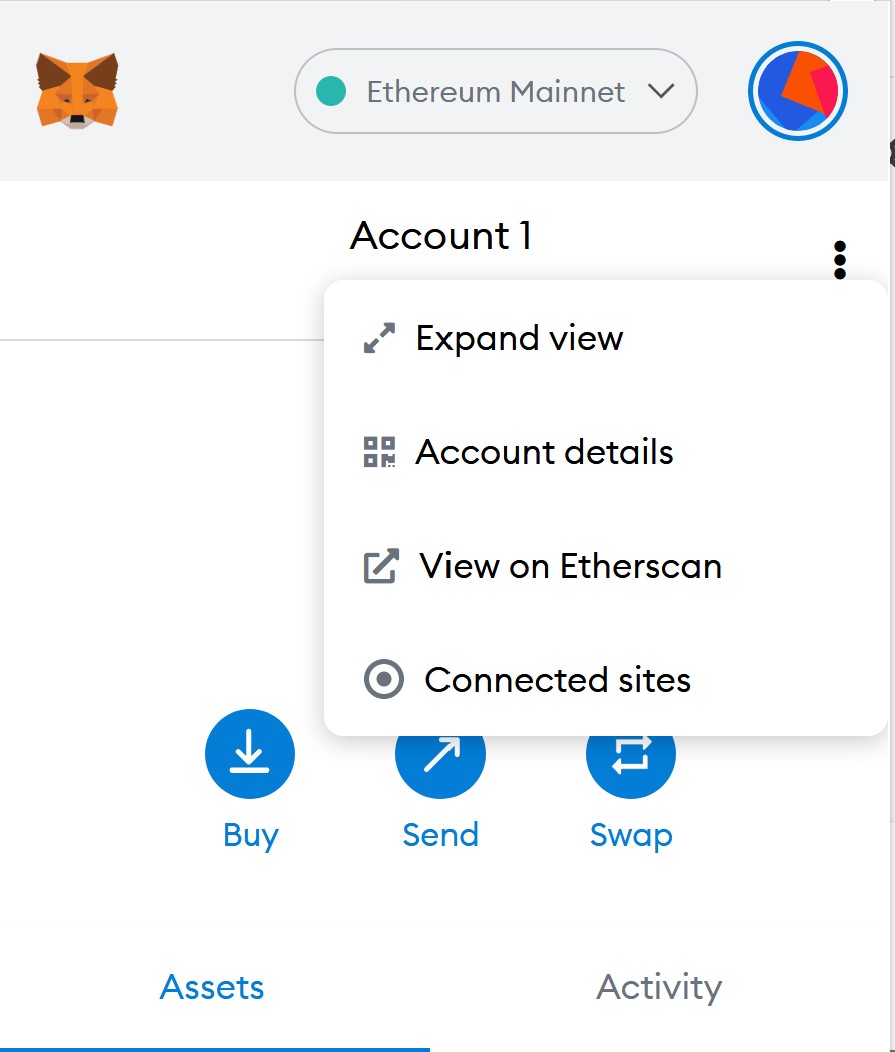
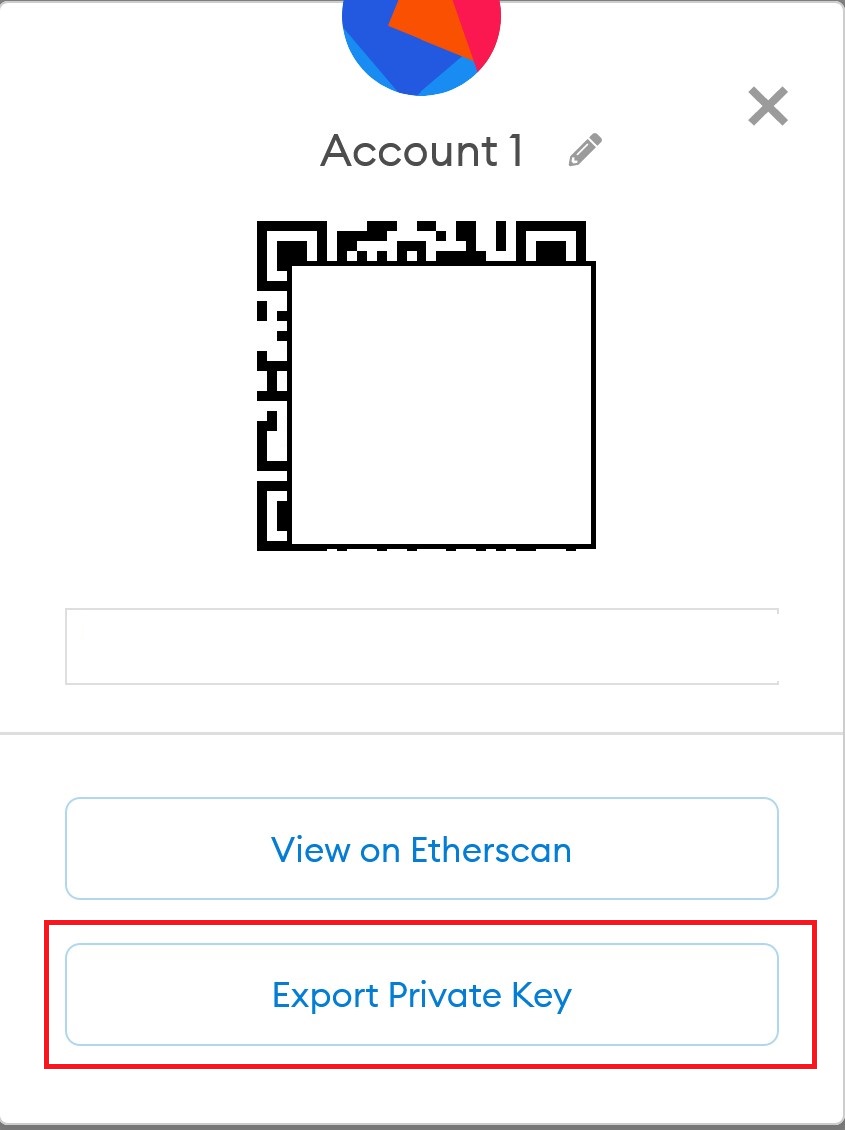
Another useful feature is getting a private key for your Metamask wallet. To do this, go to the menu (vertical ellipsis) and select Account Details.
A private key is needed to transfer your wallet from Metamask to another, for example, MEW.
Create a second address in metamask
Creating a second account or address in metamask is also a demanded function. To have several accounts (addresses) in your wallet, click on the round color image of your account and select Create Account in the drop-down menu, then come up with a name for it and your second account will be created.
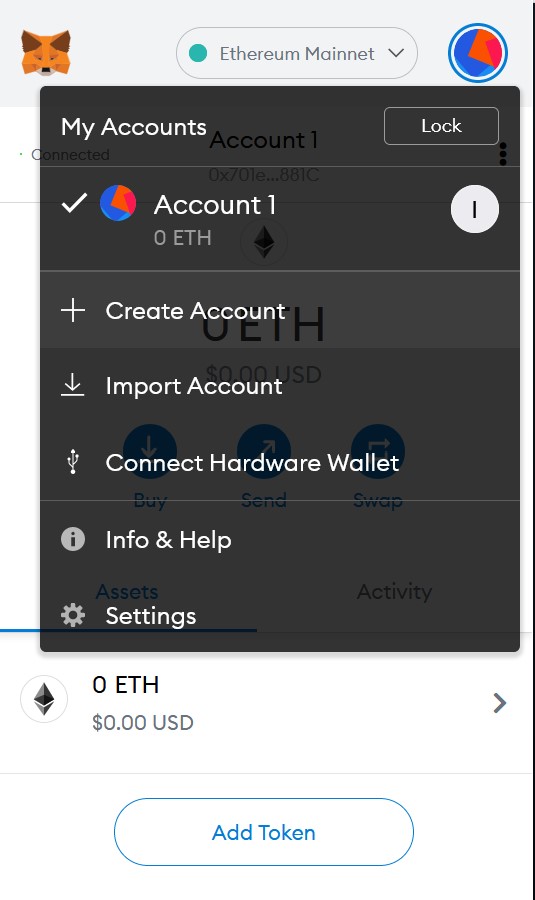
For owners of Ledger and Trezor hardware wallets, you can connect your wallet to Metamask
You can also block the wallet through the account menu - the LOCK button or simply close the browser.


